Rod Cameron Pools, established 1968

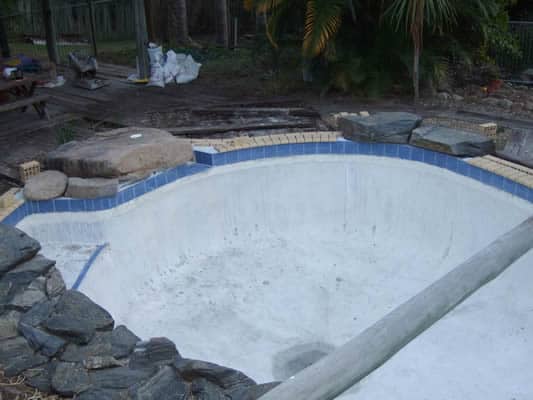
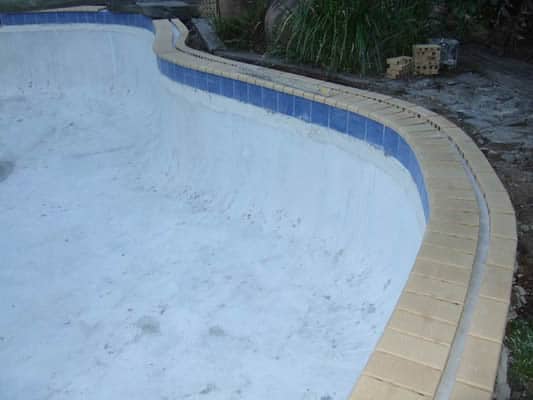
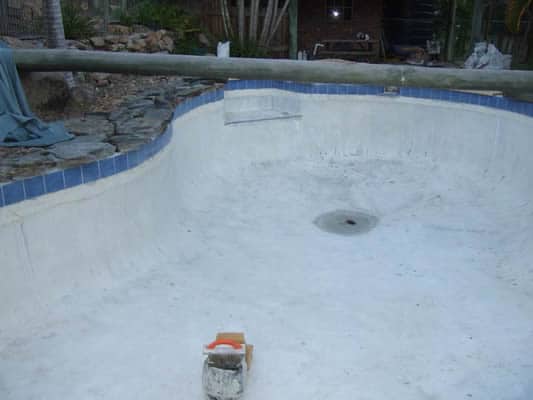
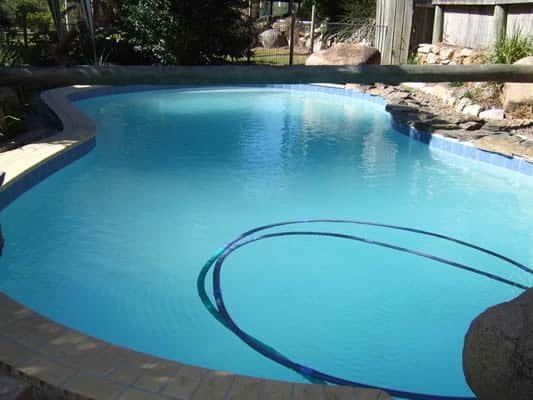
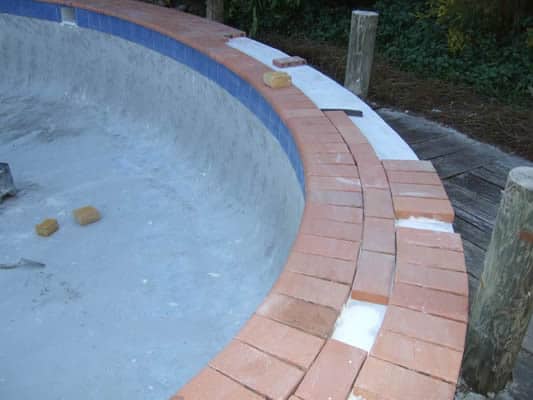
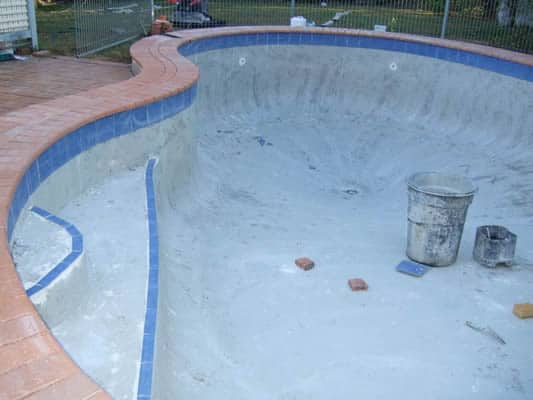
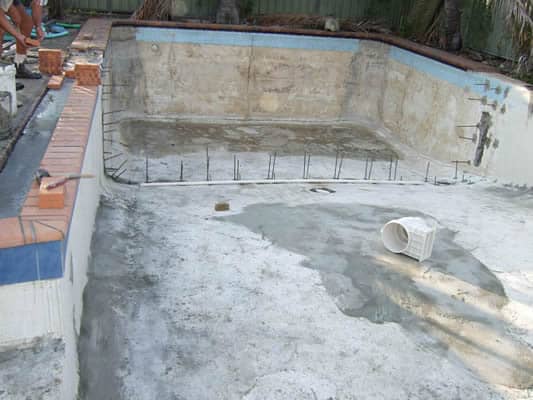
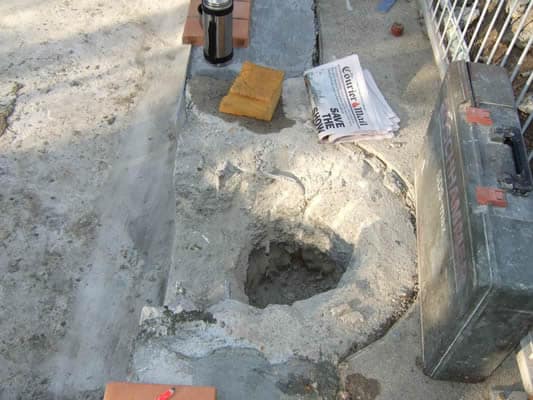
Our renovation projects, photographed on site.

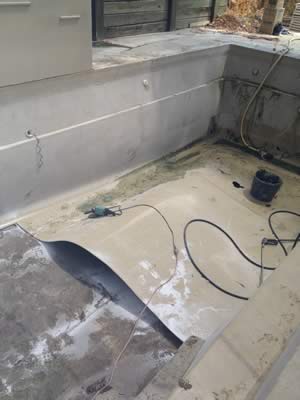
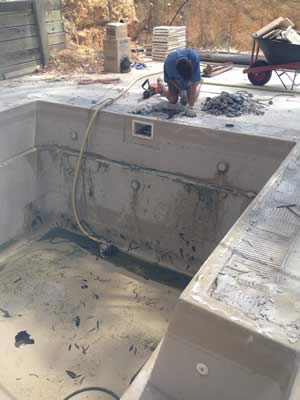
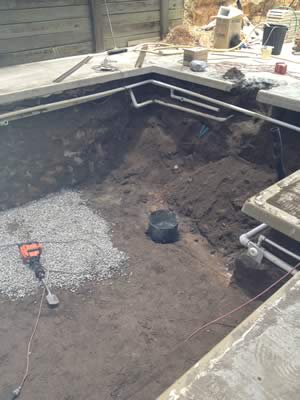
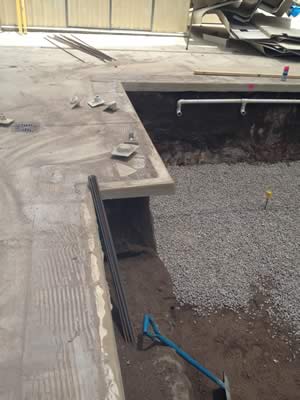
Three large commercial jobs, then sixteen projects lettered B to Q, each with our notes from the job and every photo we took.

Case studies

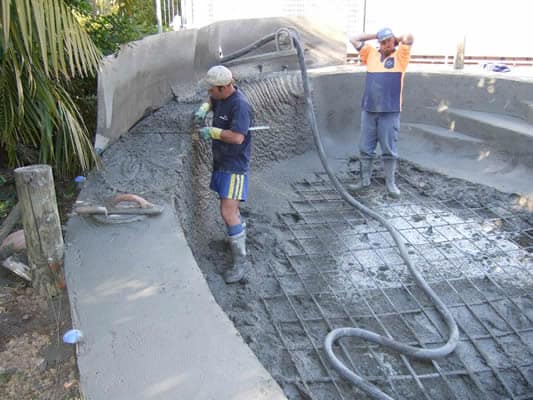
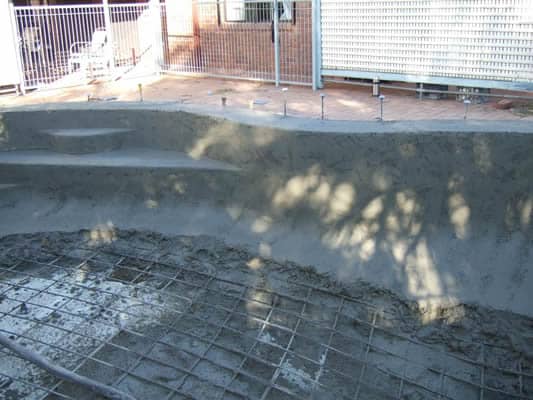
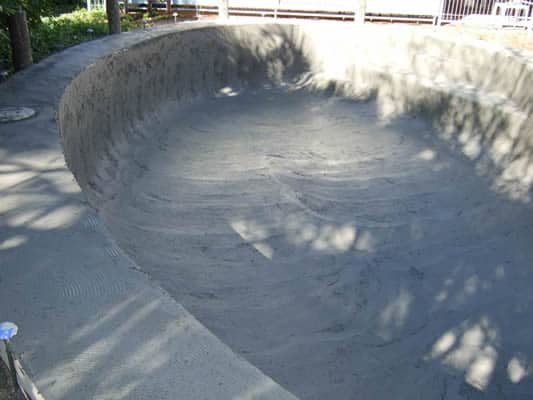
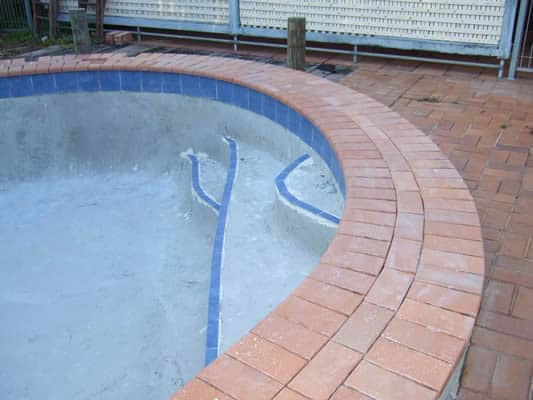
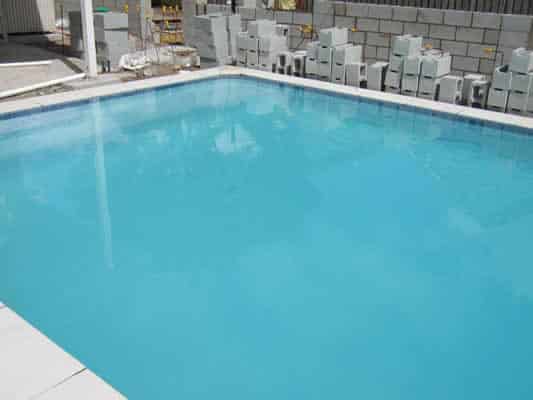
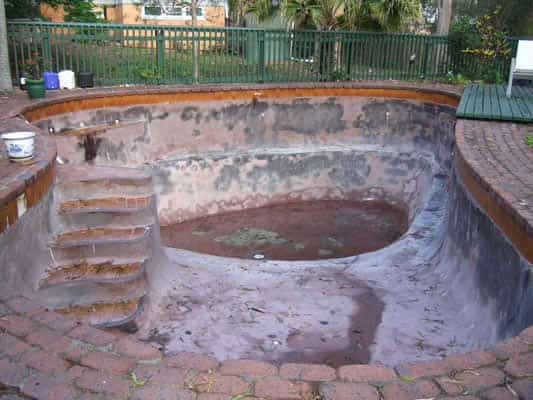
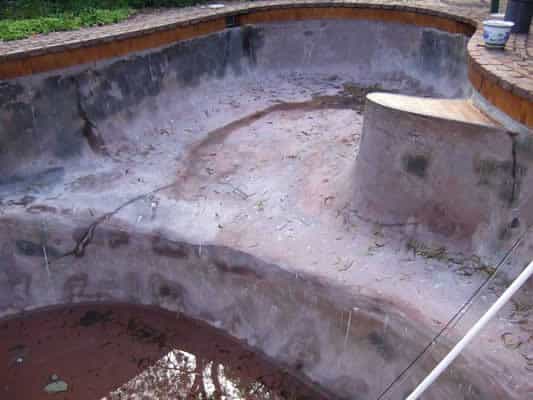
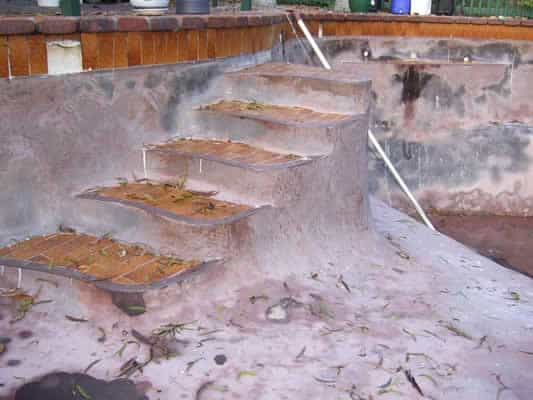
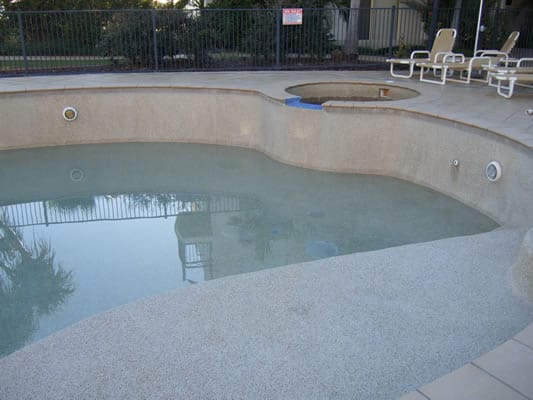
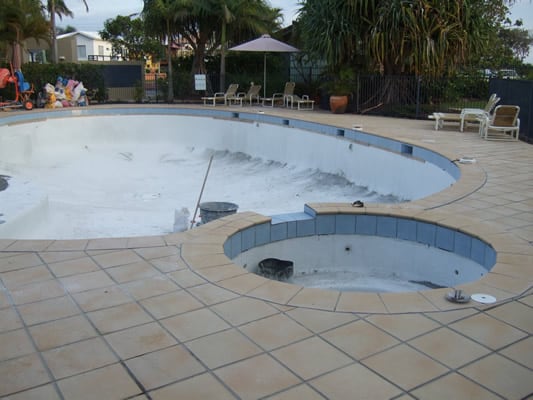
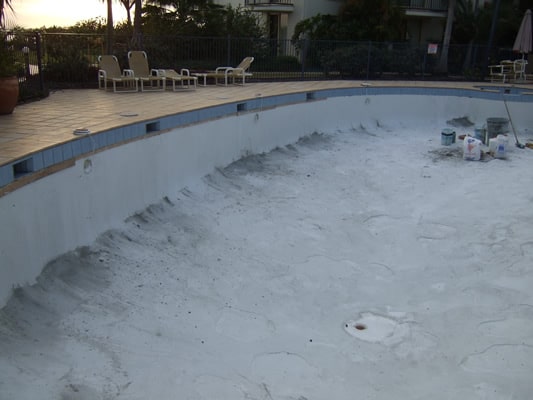
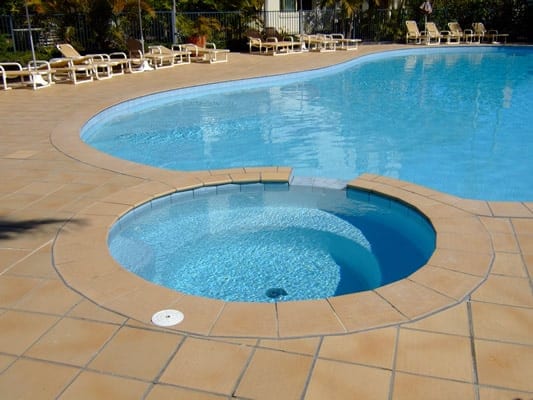
The View Hotel, Hamilton

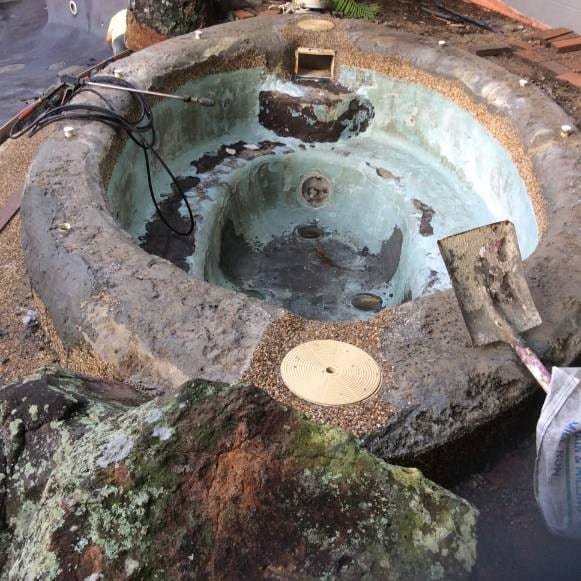
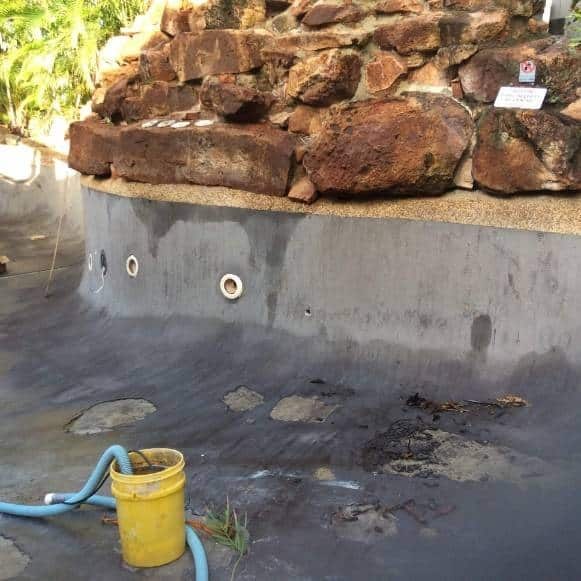
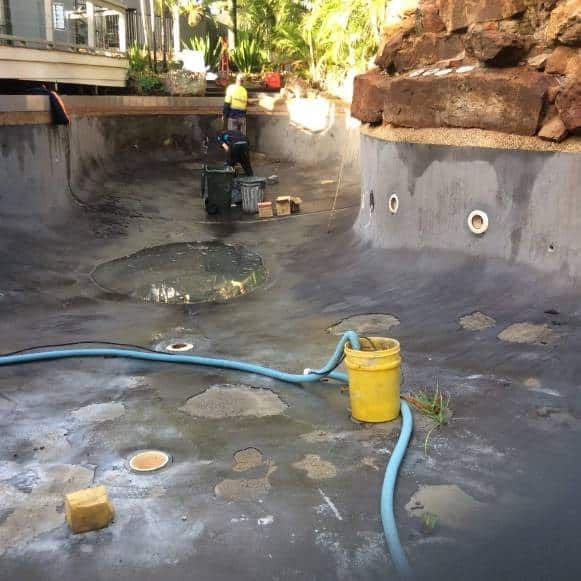
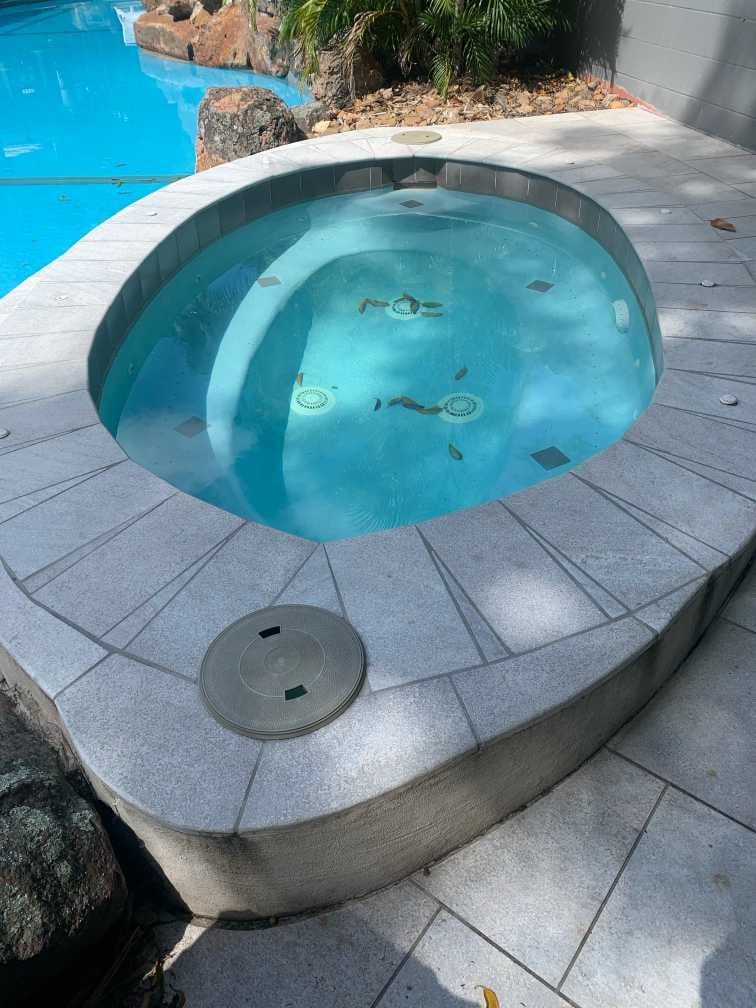
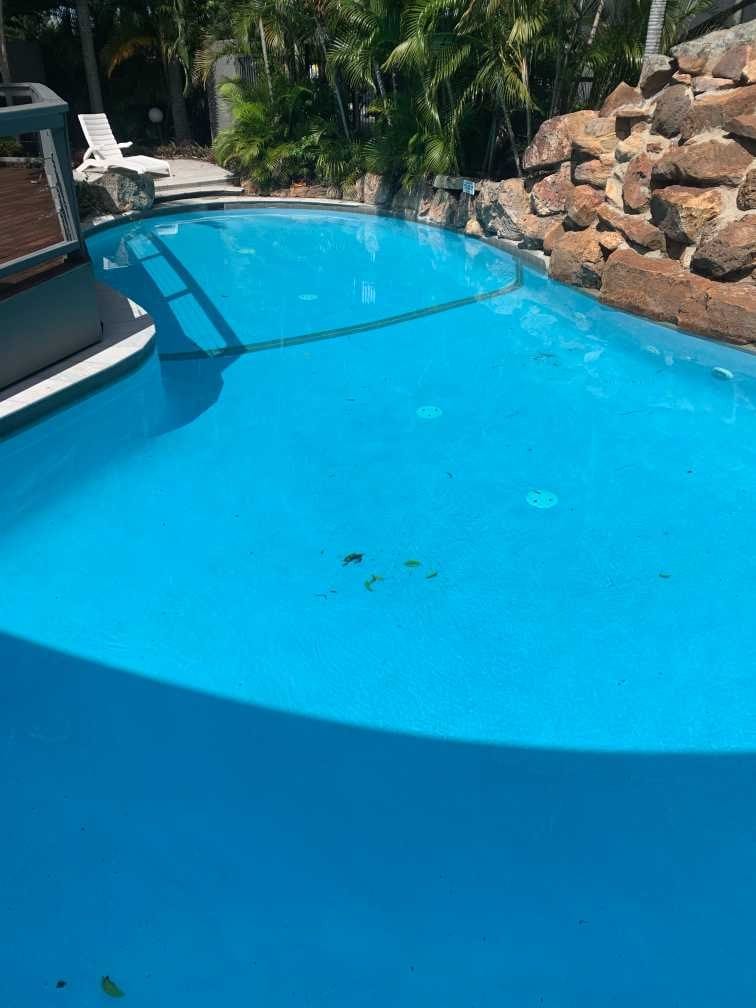
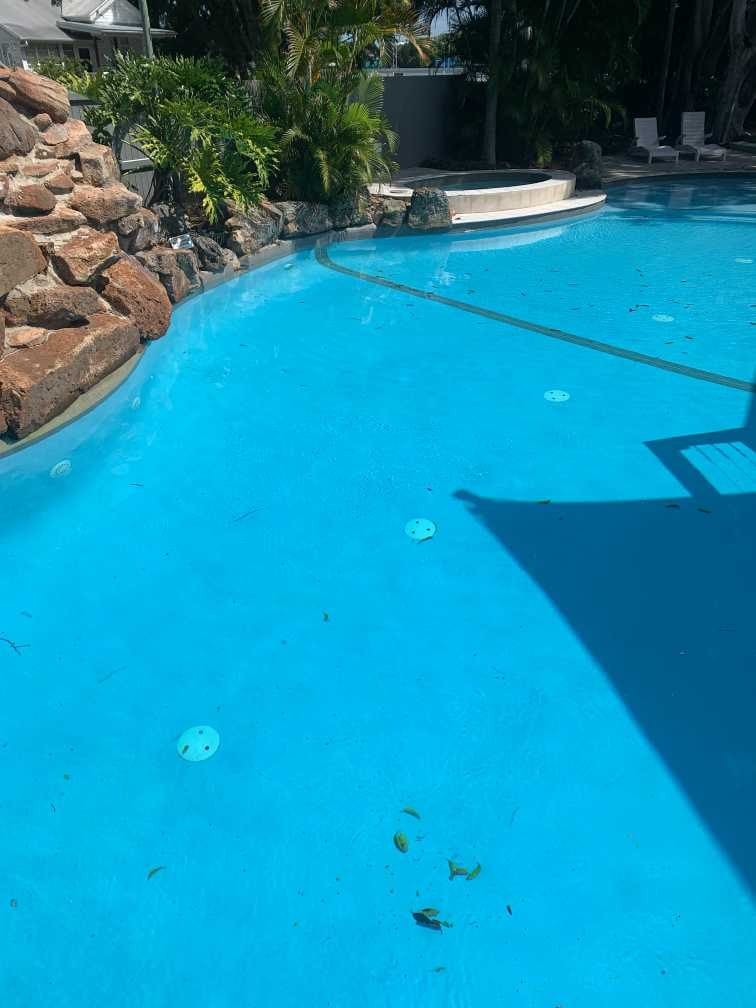
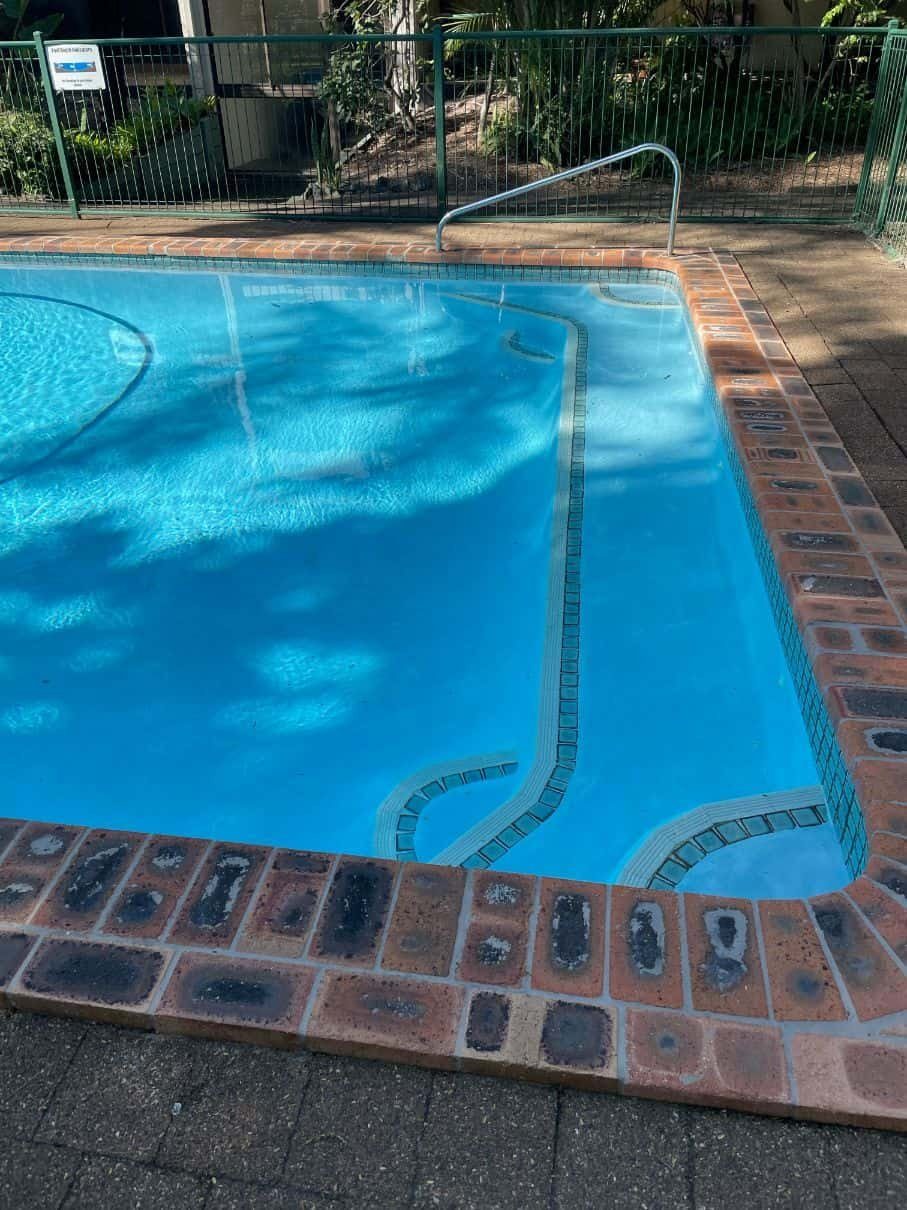
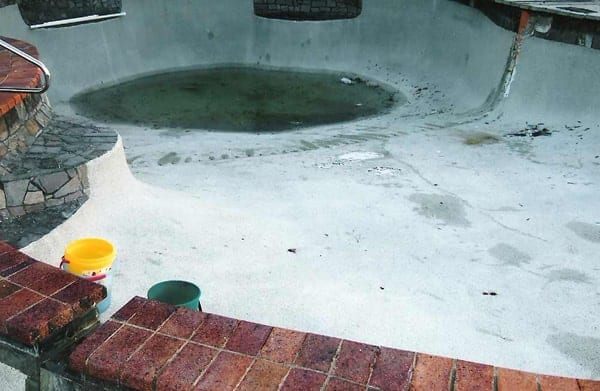
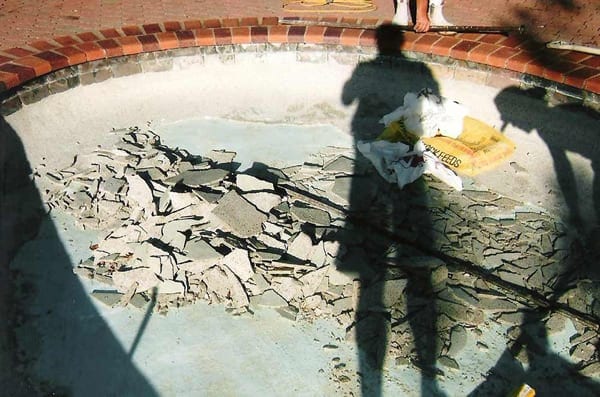
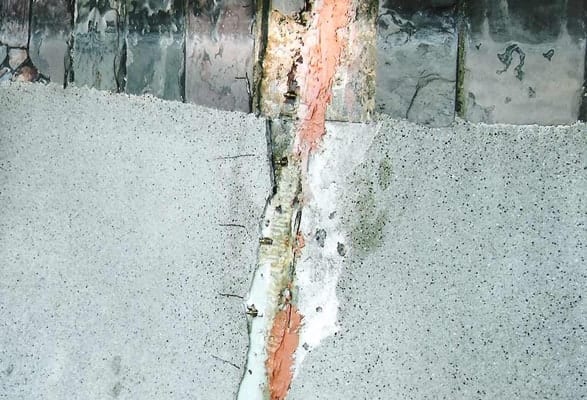
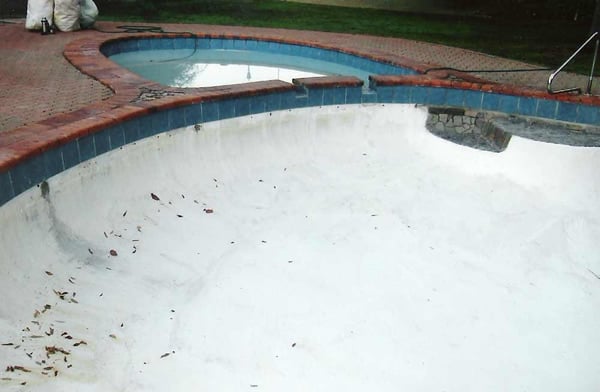
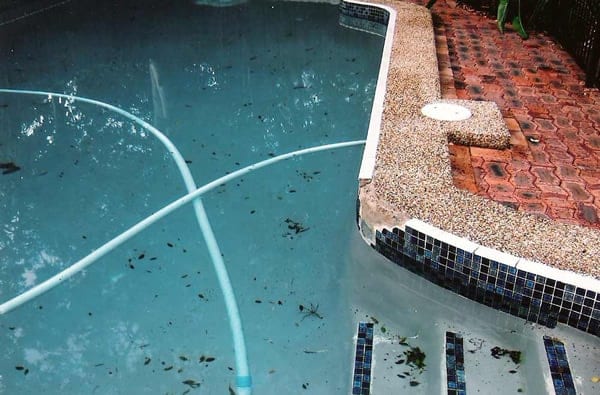
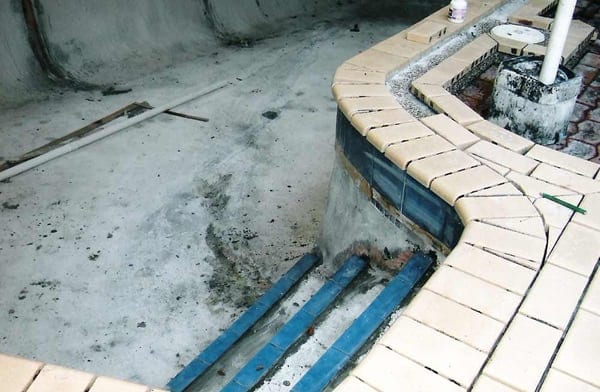
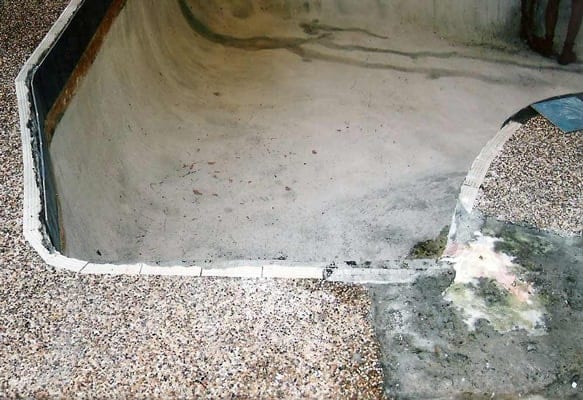
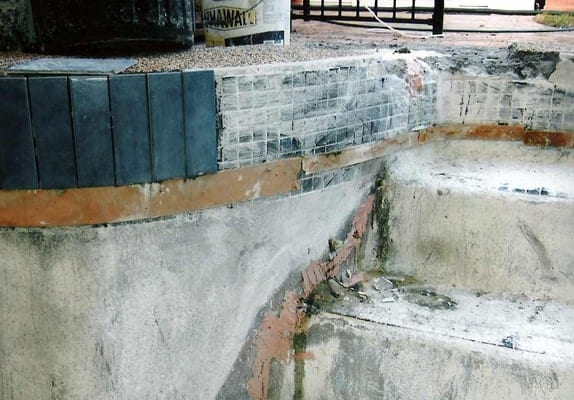
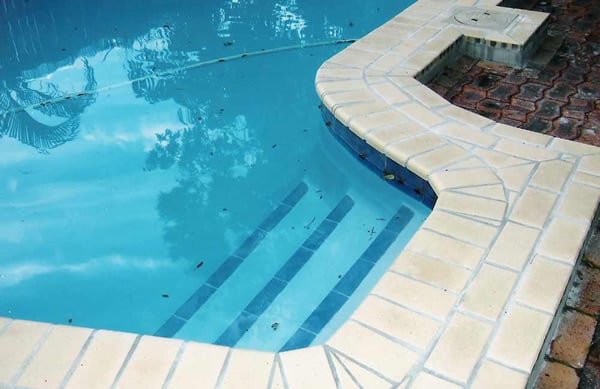
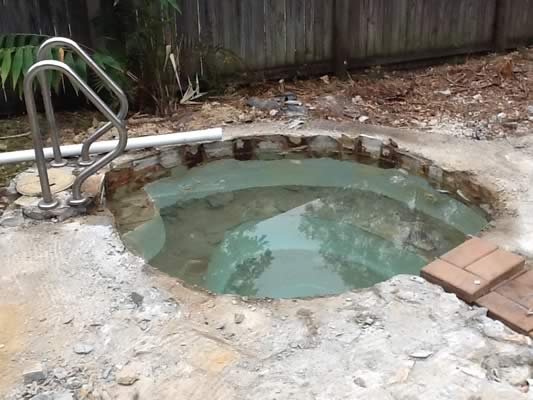
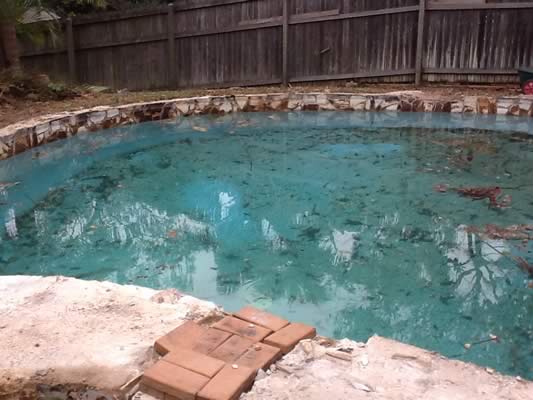
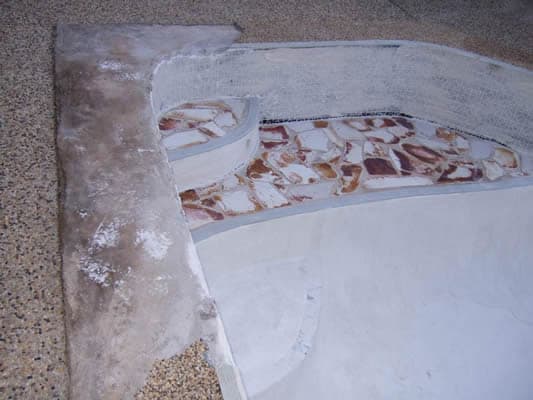
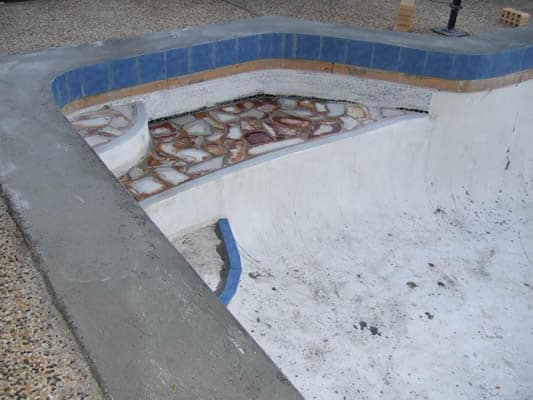
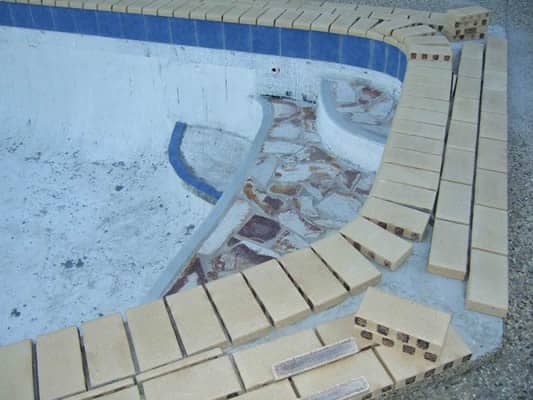
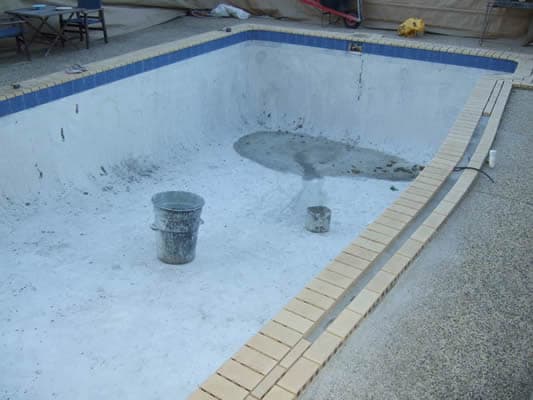
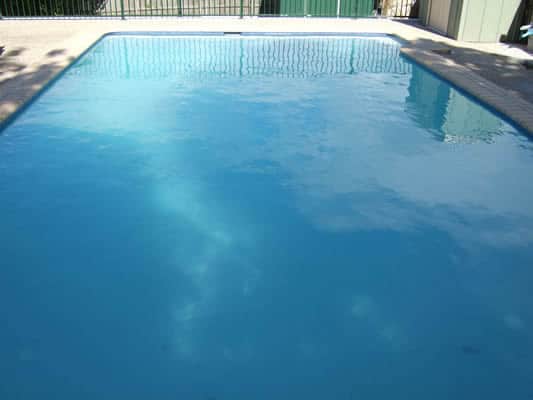
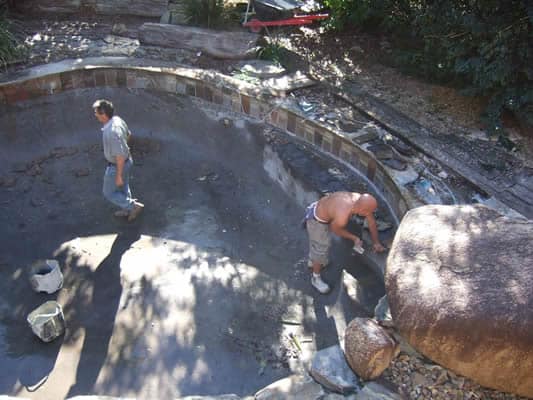
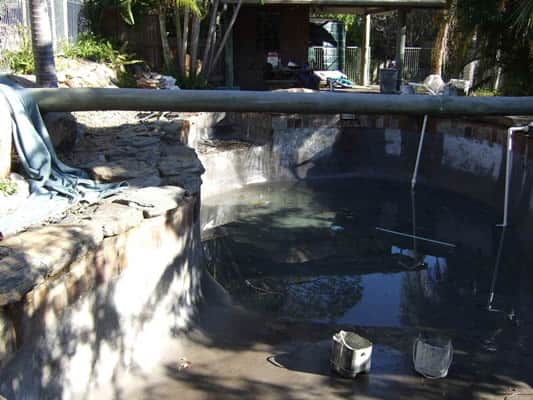
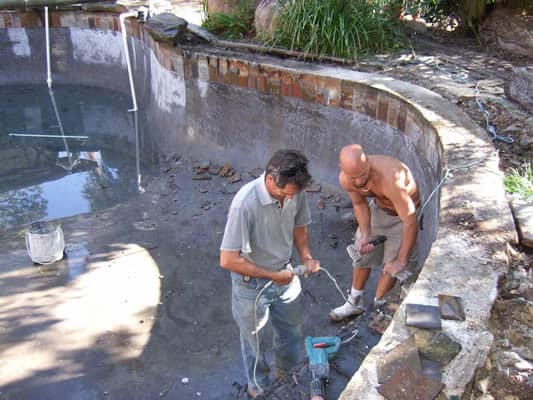
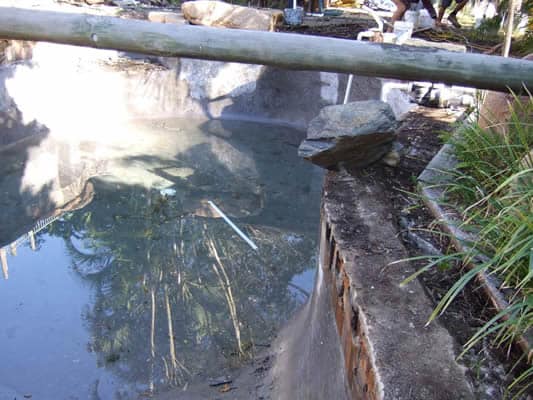
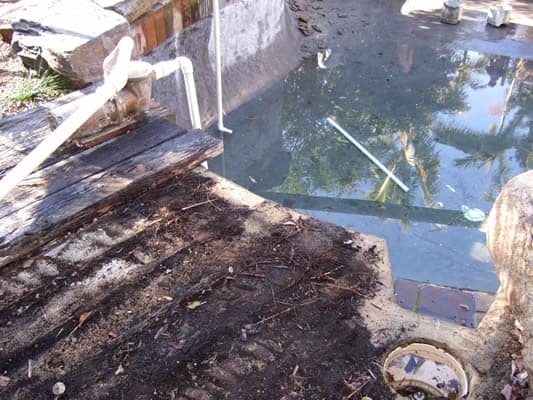
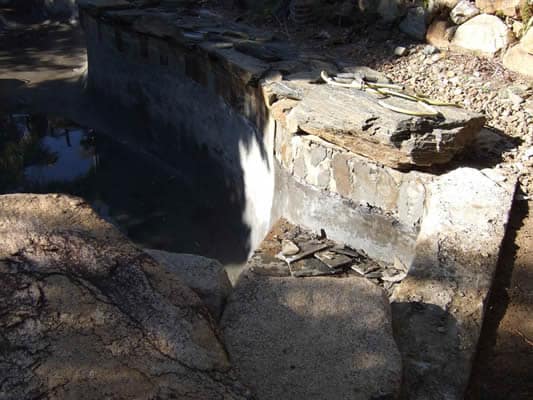
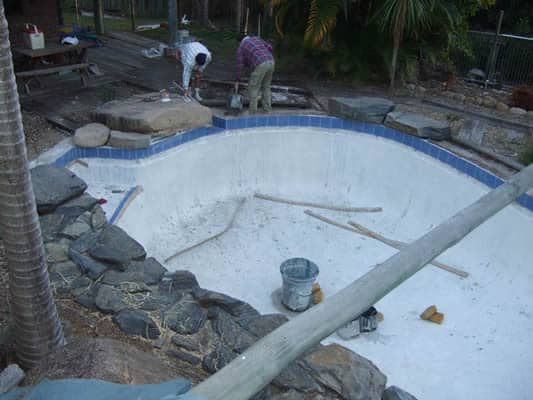
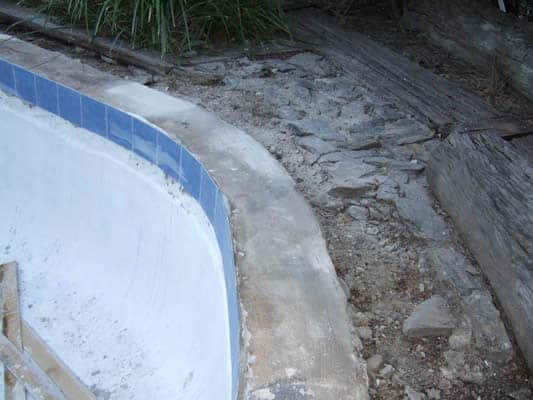
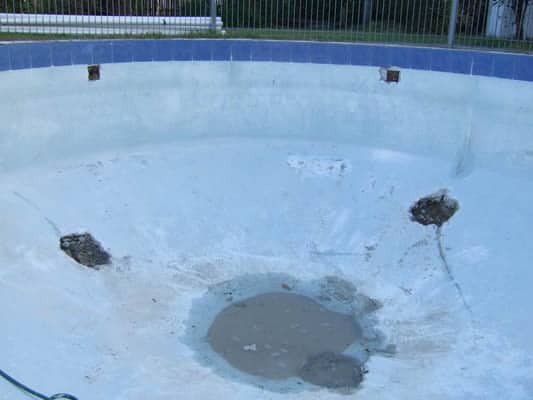
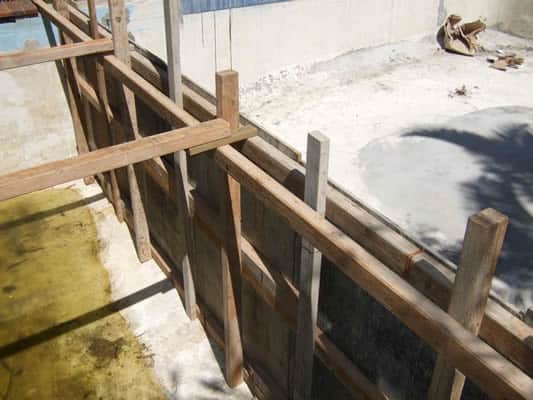
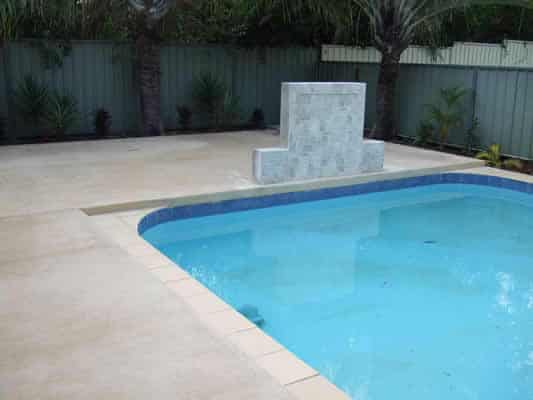
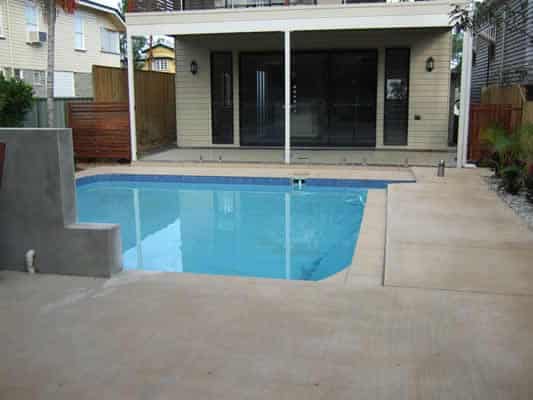
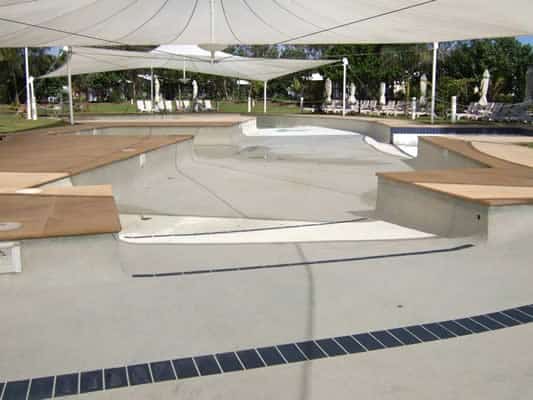
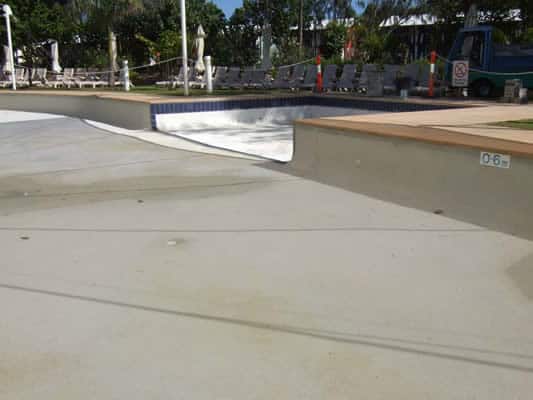
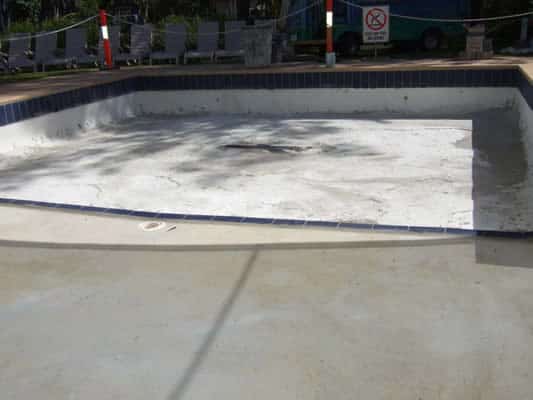
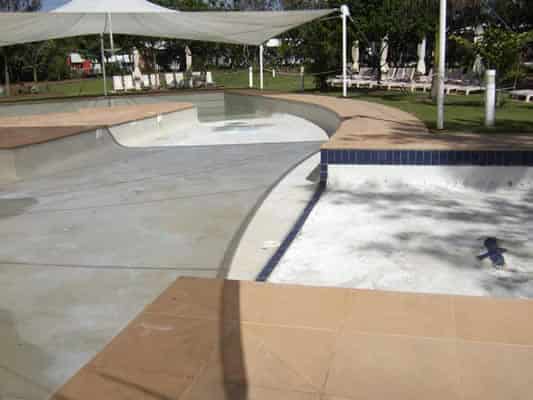
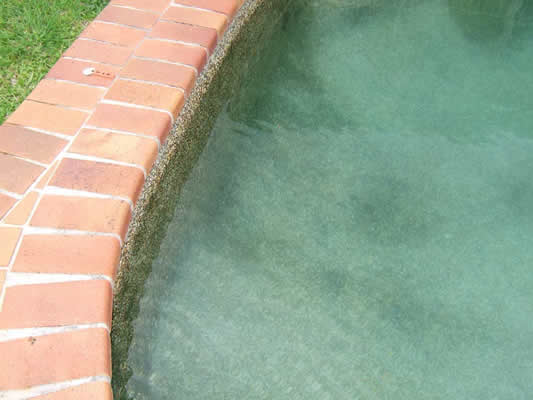
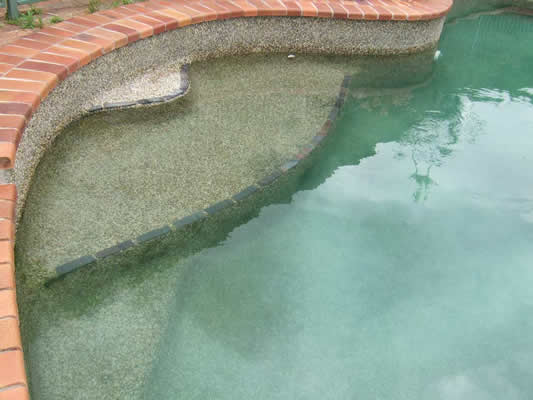
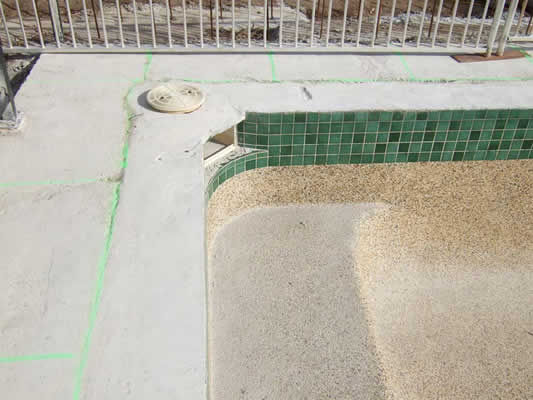
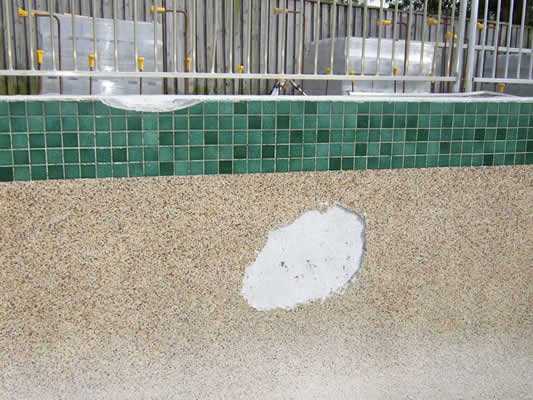
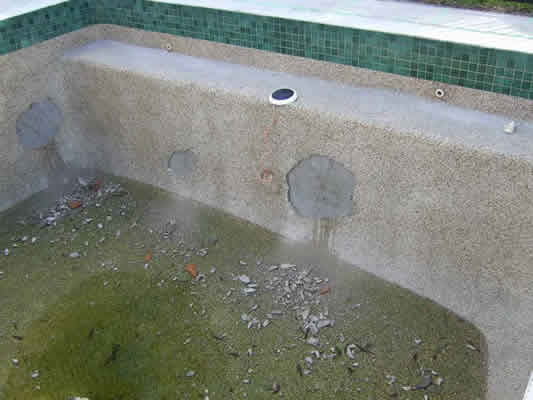
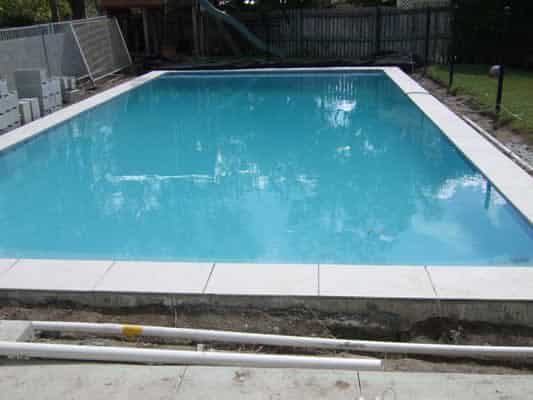
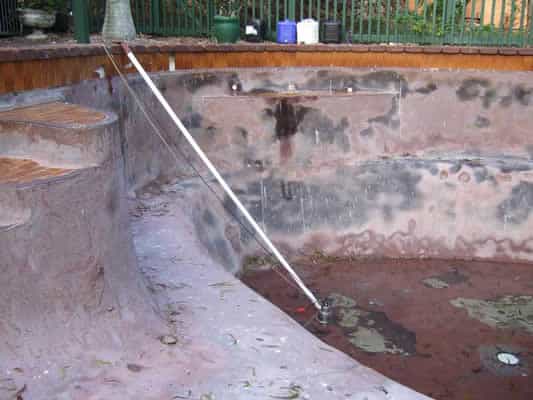
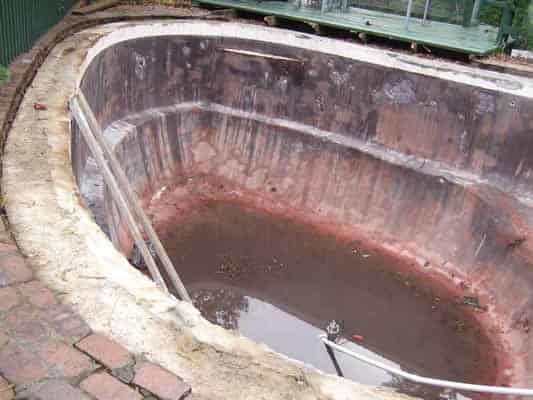
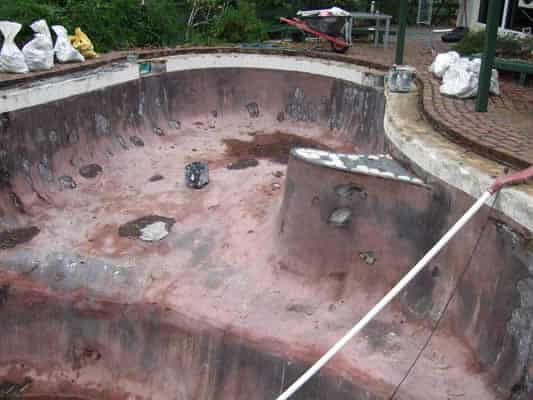
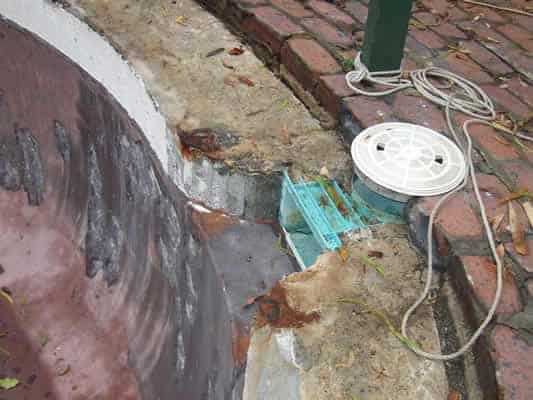
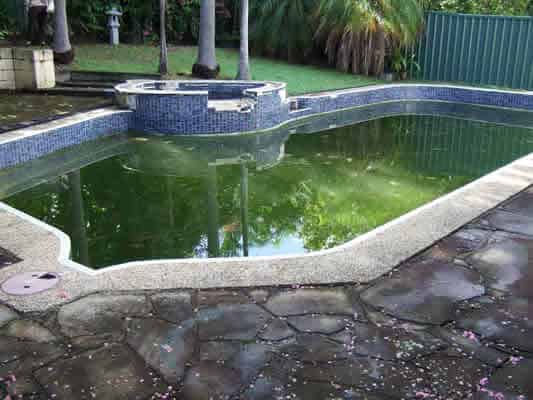
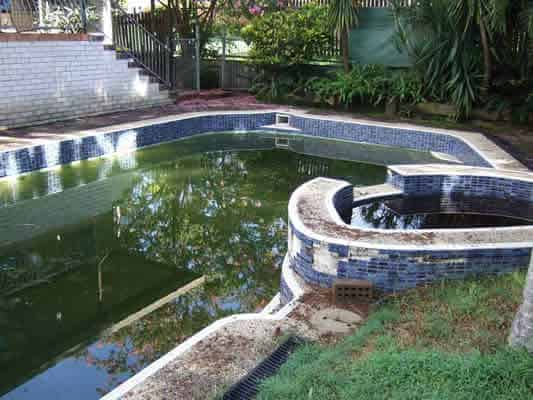
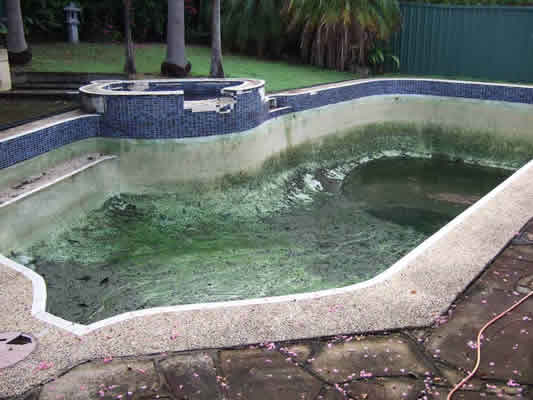
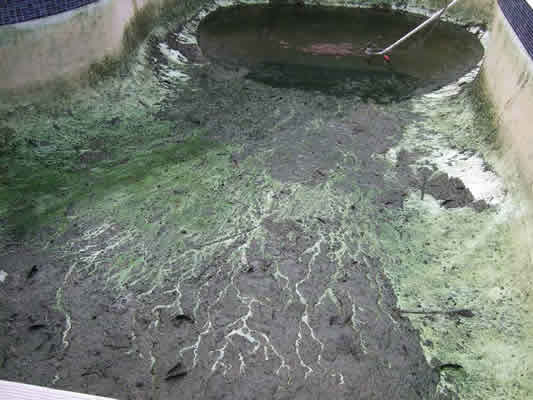
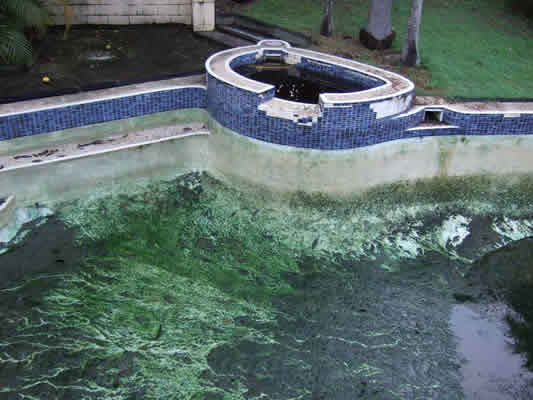
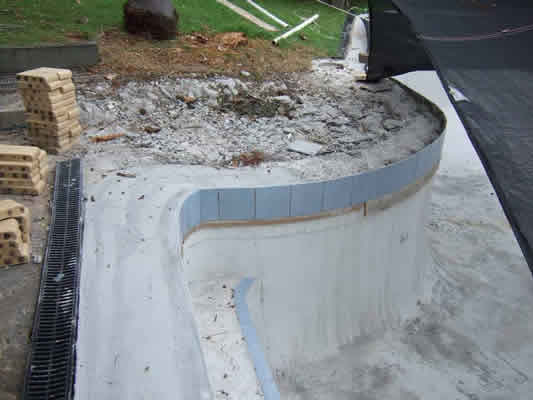
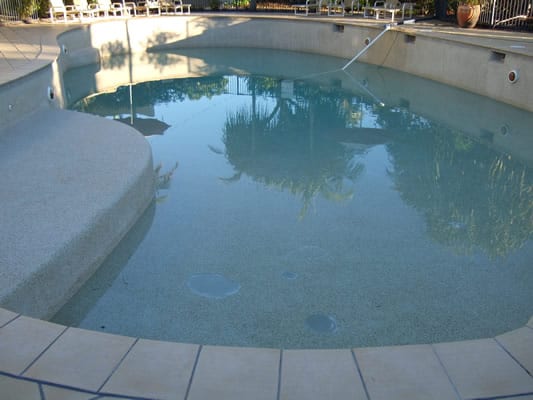
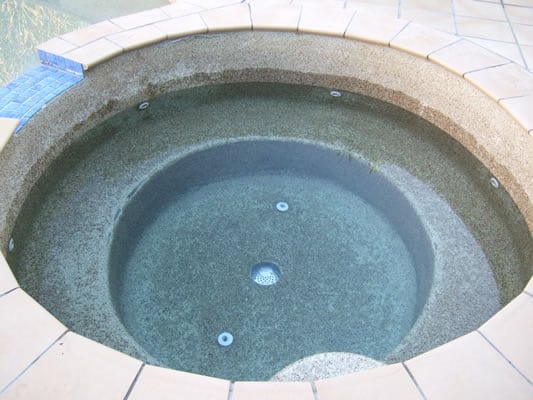
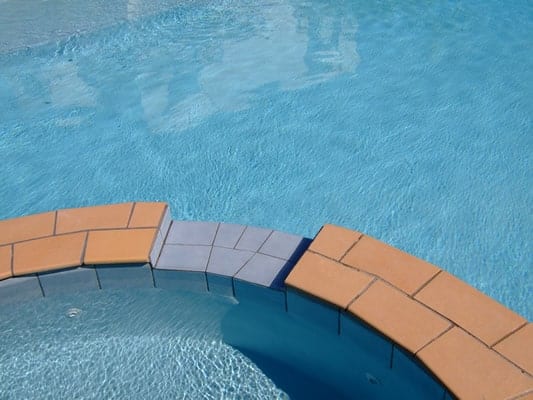
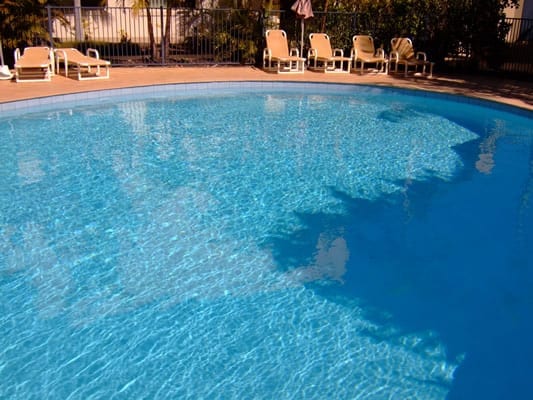
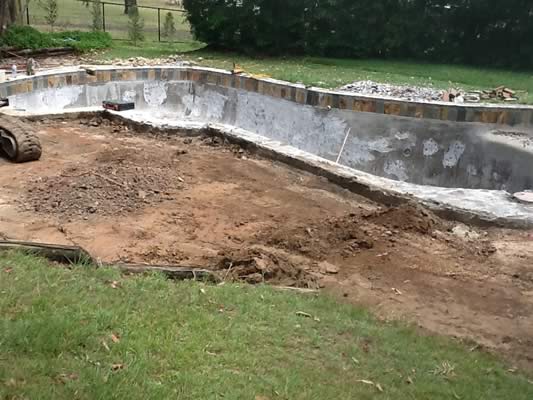
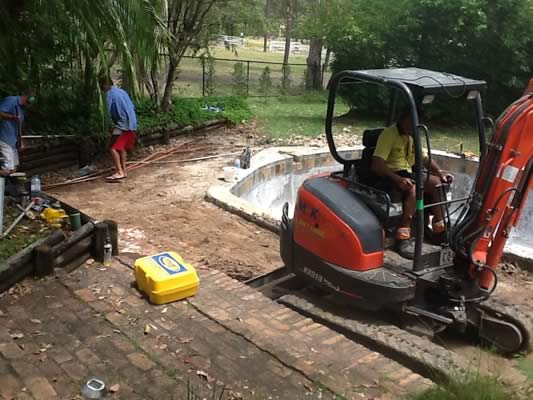
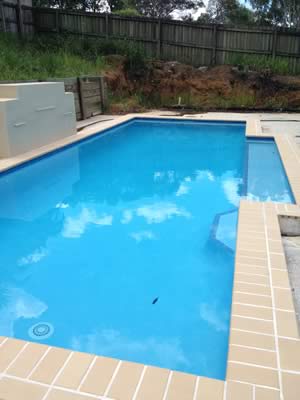
Resort-style pool and spa overlooking the river at Hamilton. Pebbles had come loose and held algae; the worn surface was removed, expansion joints repaired, all tiling and coping replaced, and the interior finished in smooth blue marble.
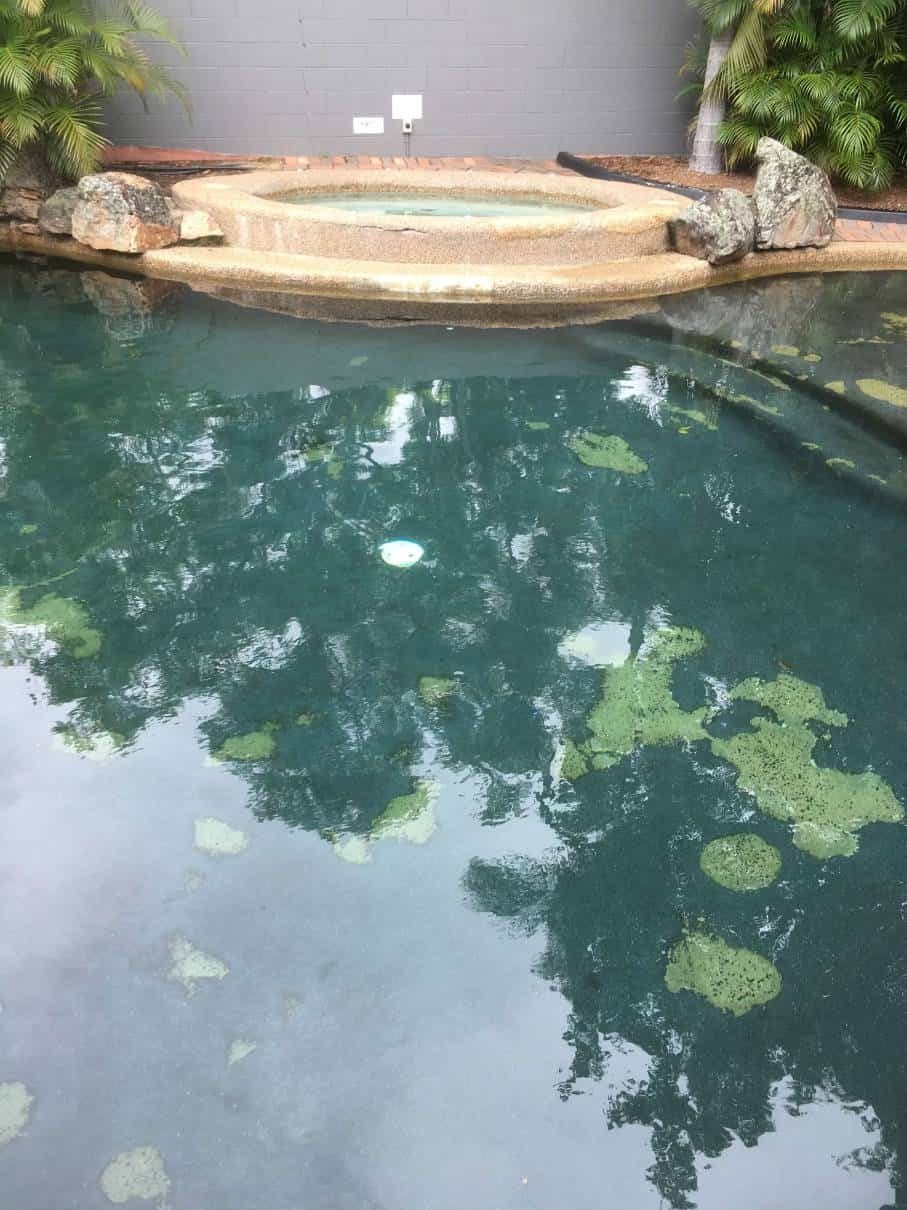
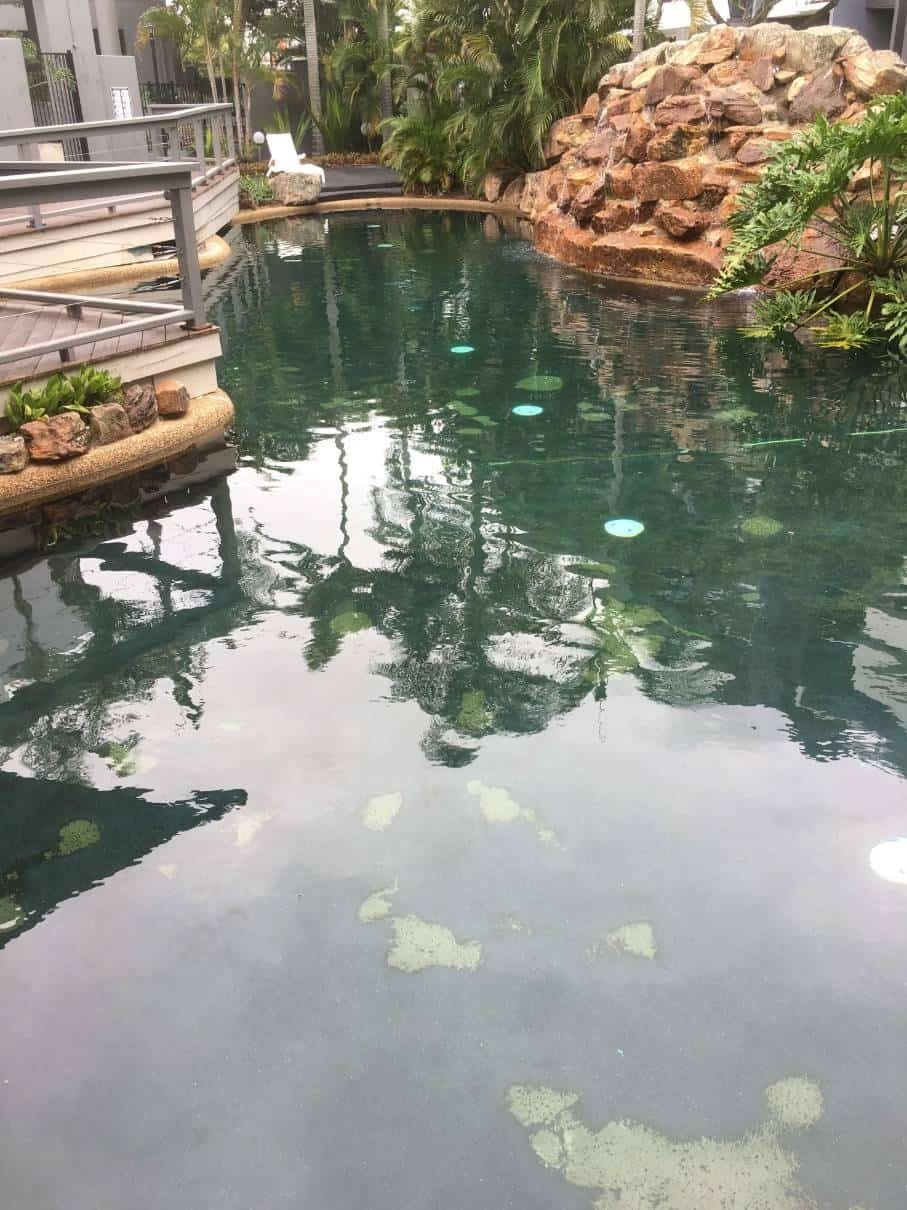
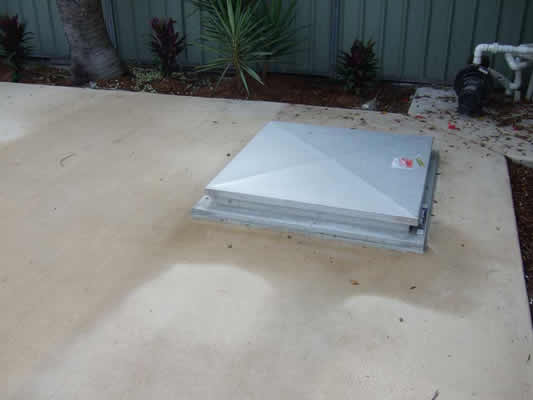
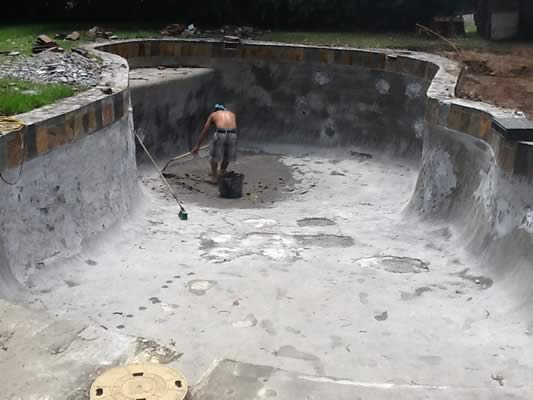
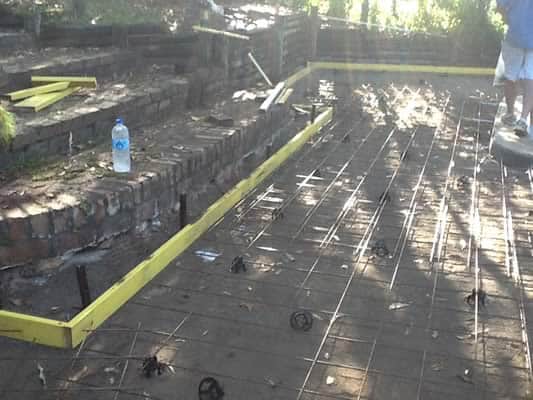
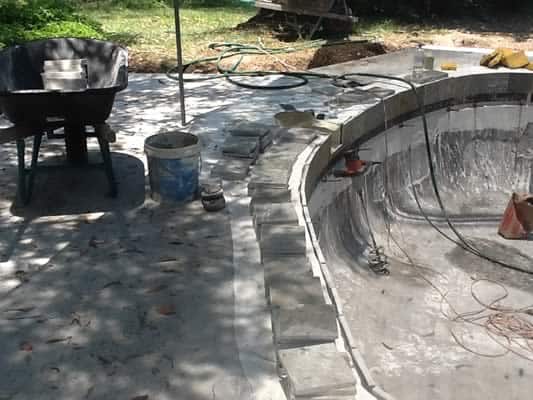
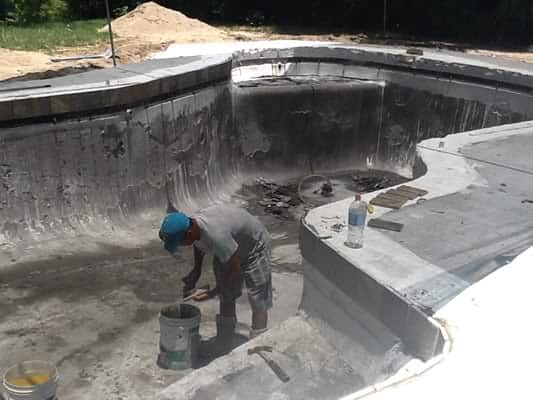
The View Hotel, Hamilton: before spa photographThe View Hotel, Hamilton: before photographThe View Hotel, Hamilton: spa before photographThe View Hotel, Hamilton: stripped wall photographThe View Hotel, Hamilton: drained photographThe View Hotel, Hamilton: spa after photographThe View Hotel, Hamilton: after curve photographThe View Hotel, Hamilton: after photograph

Goodwin Apartments, Kangaroo Point

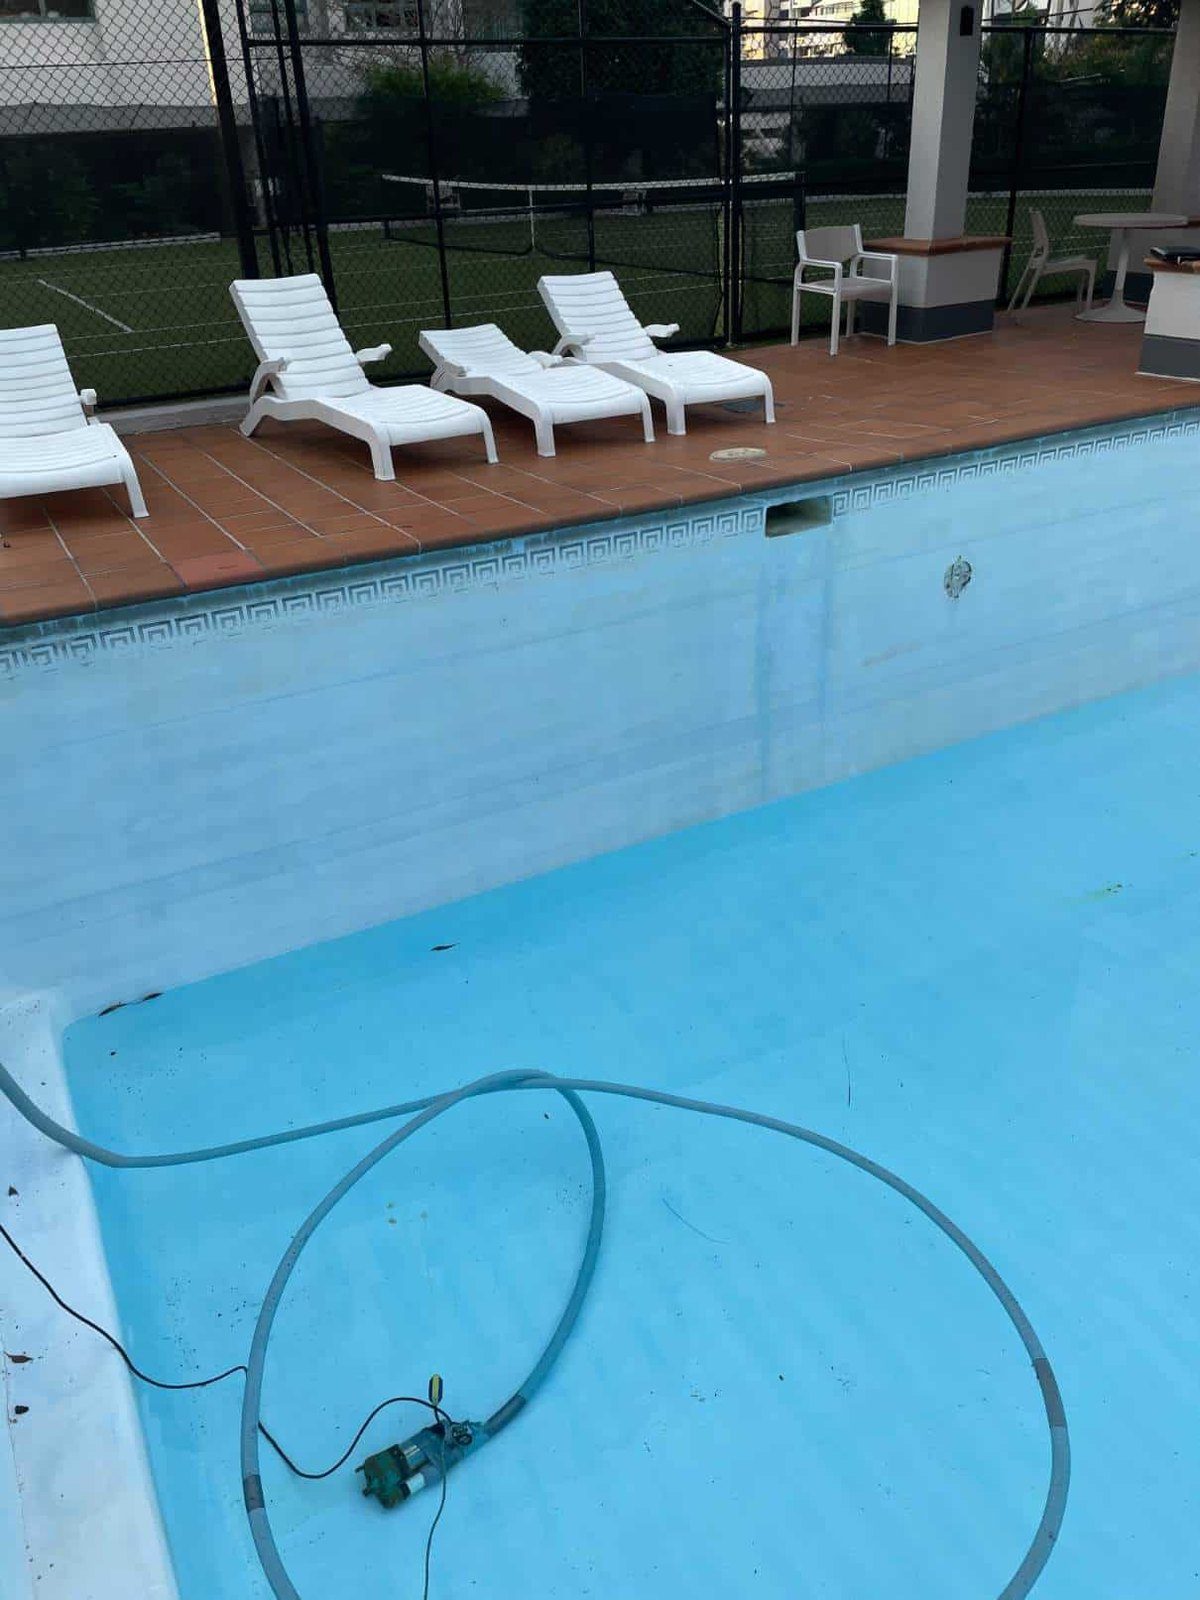
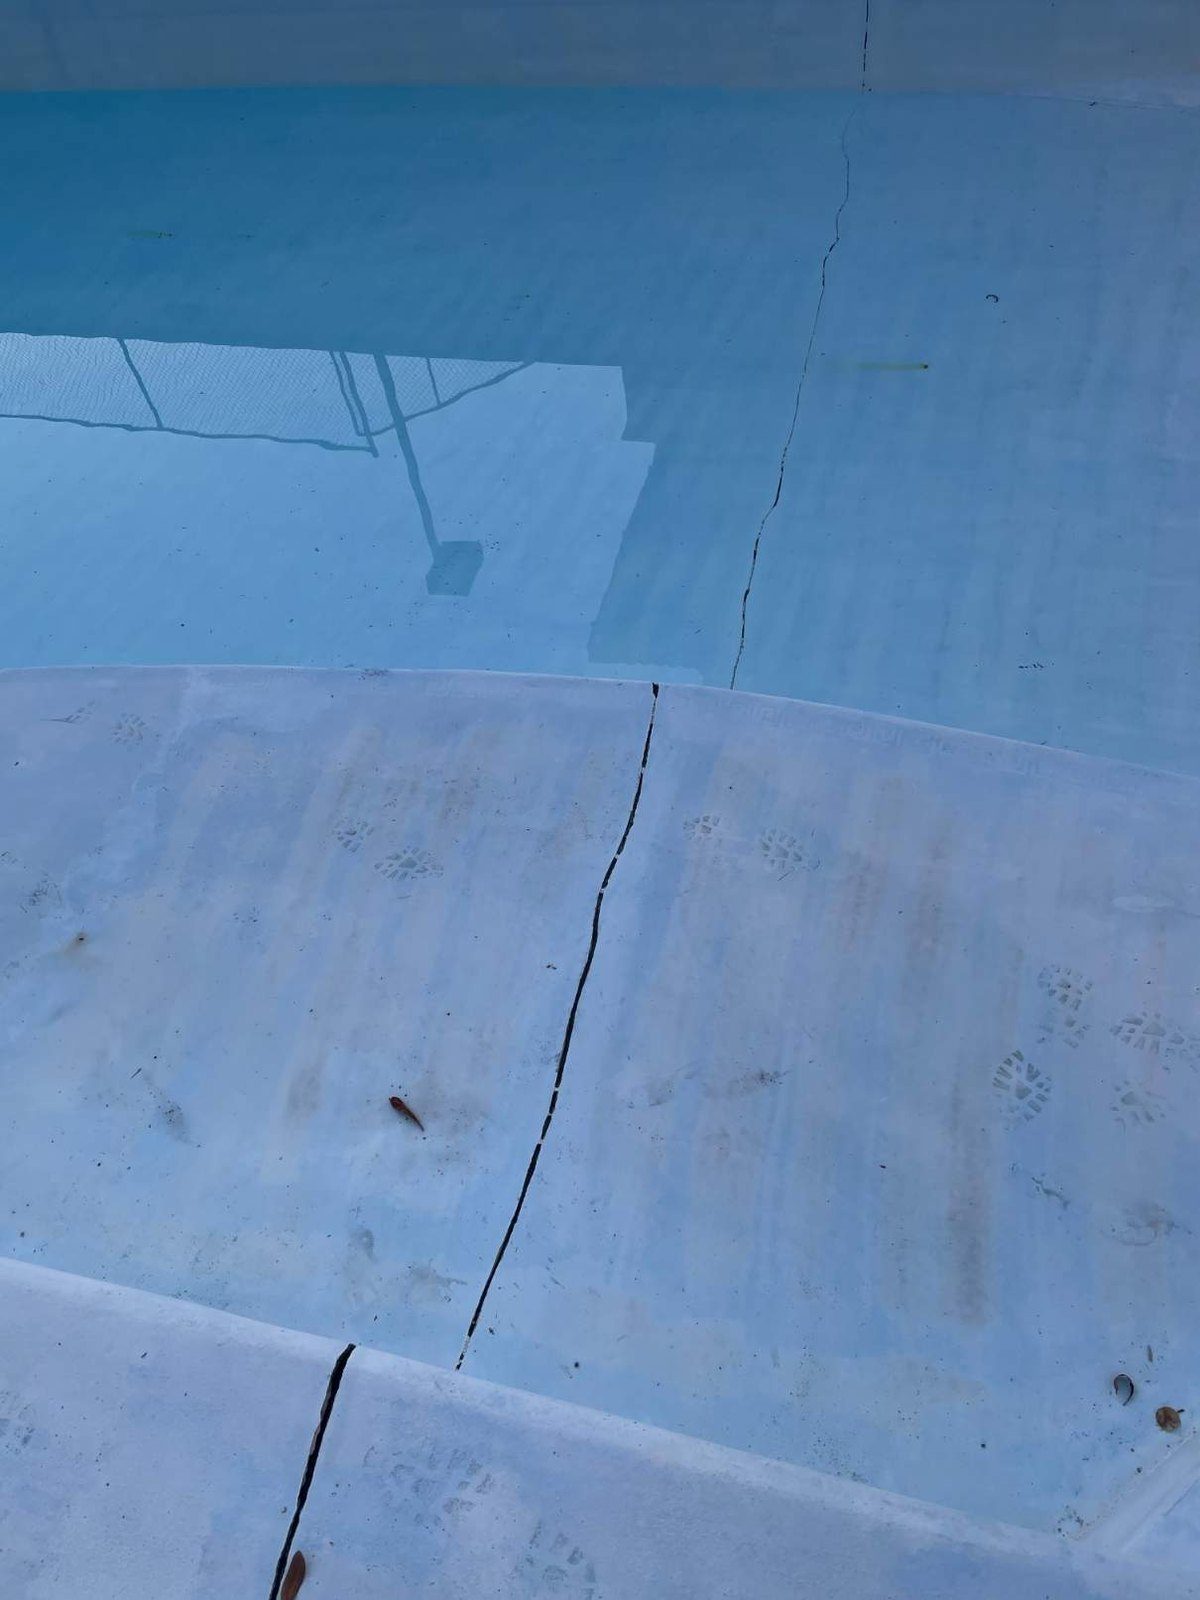
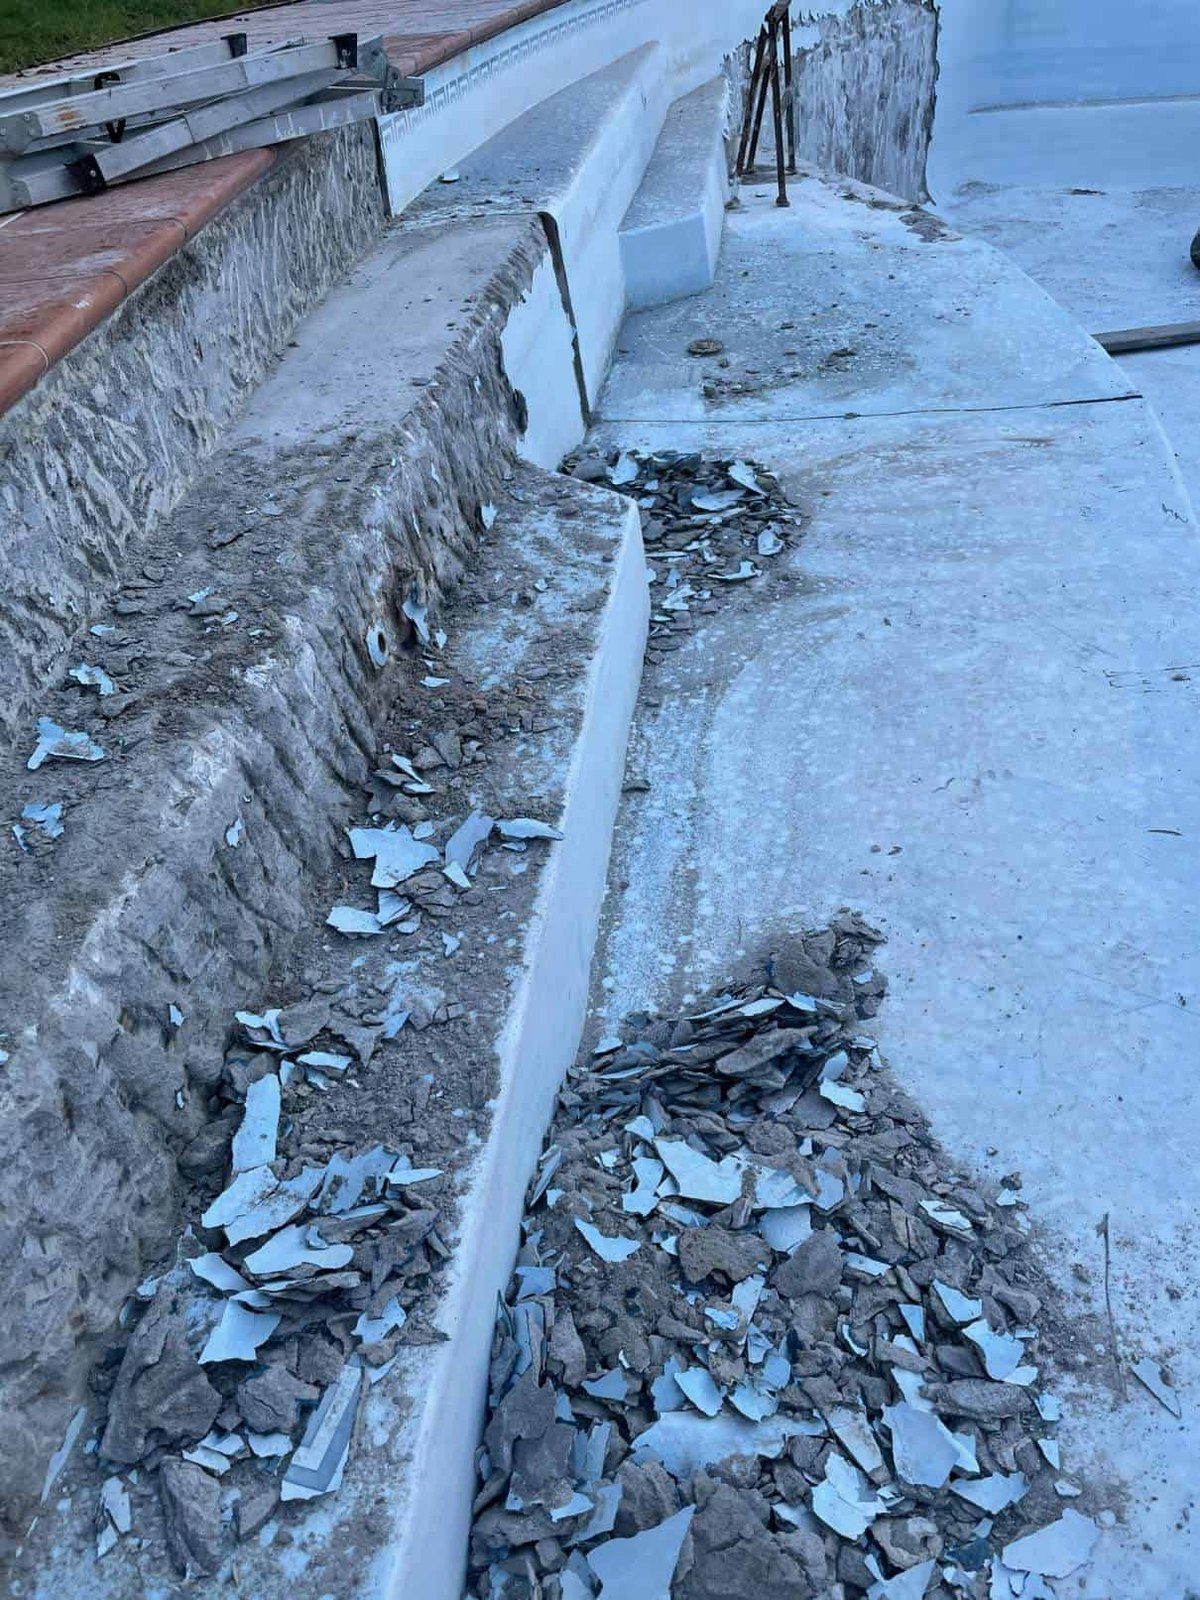
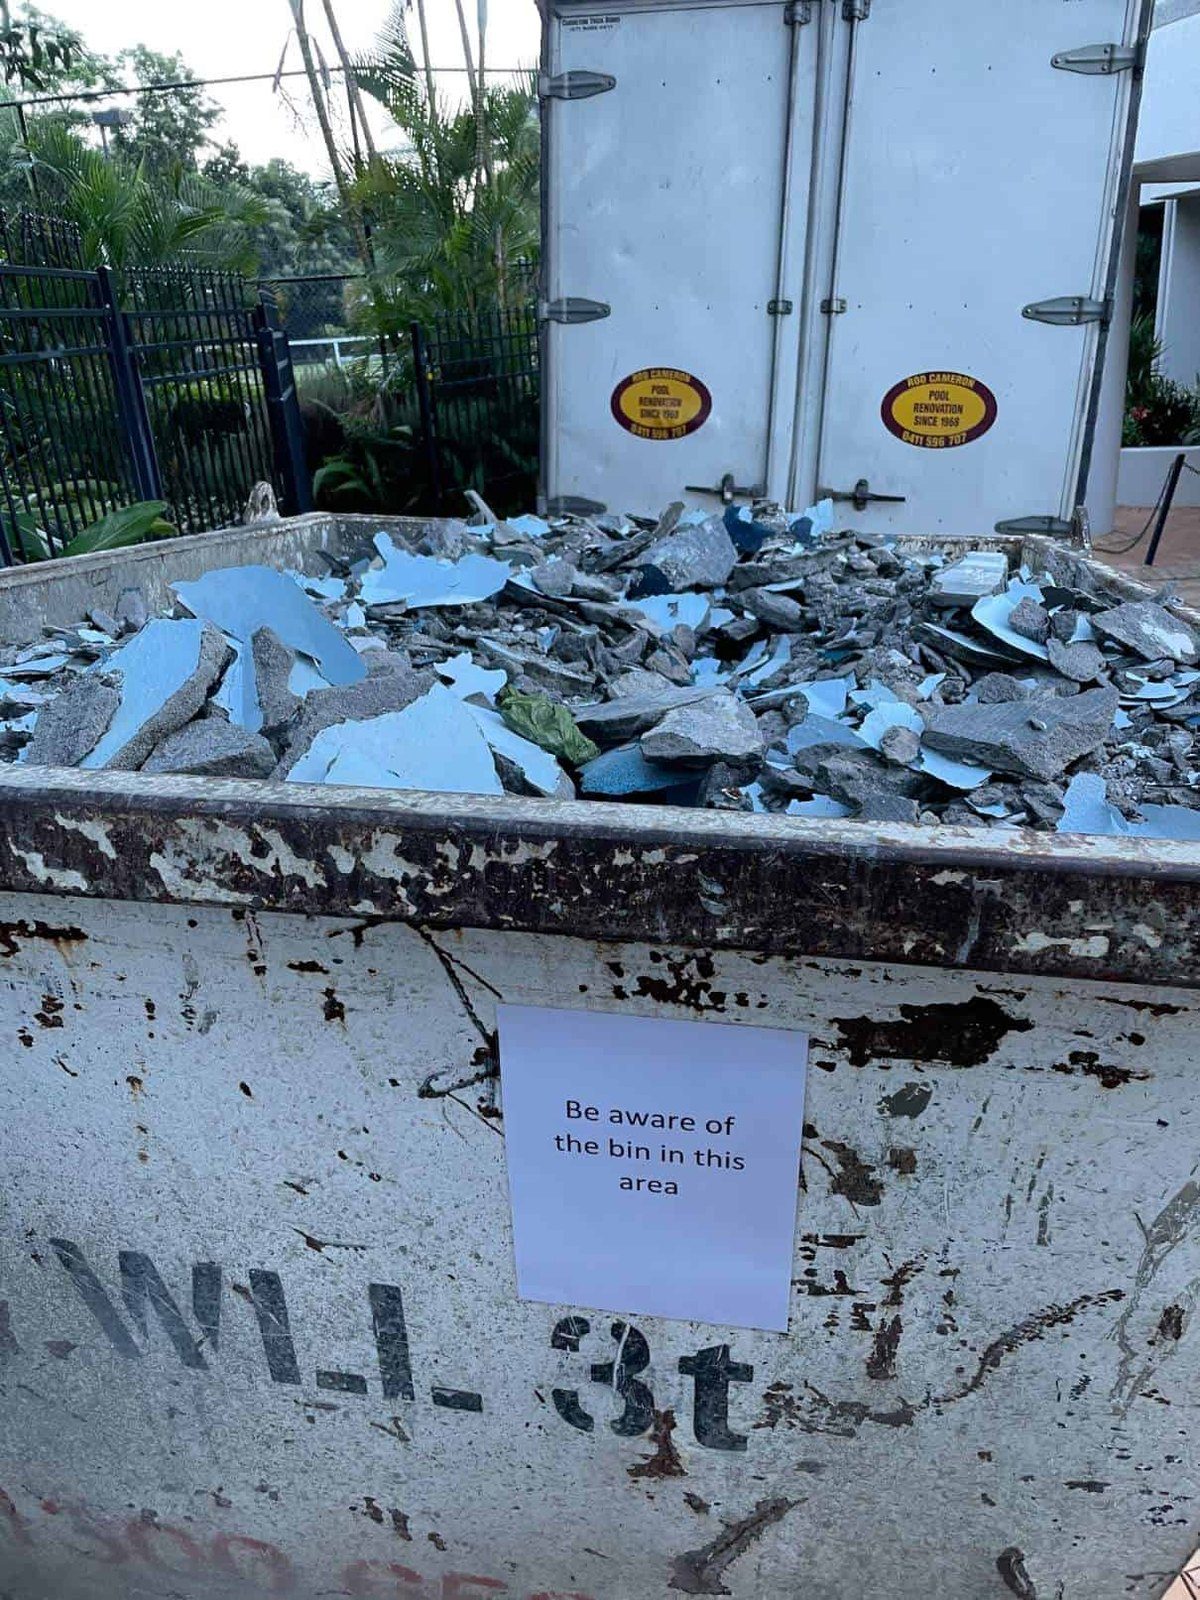
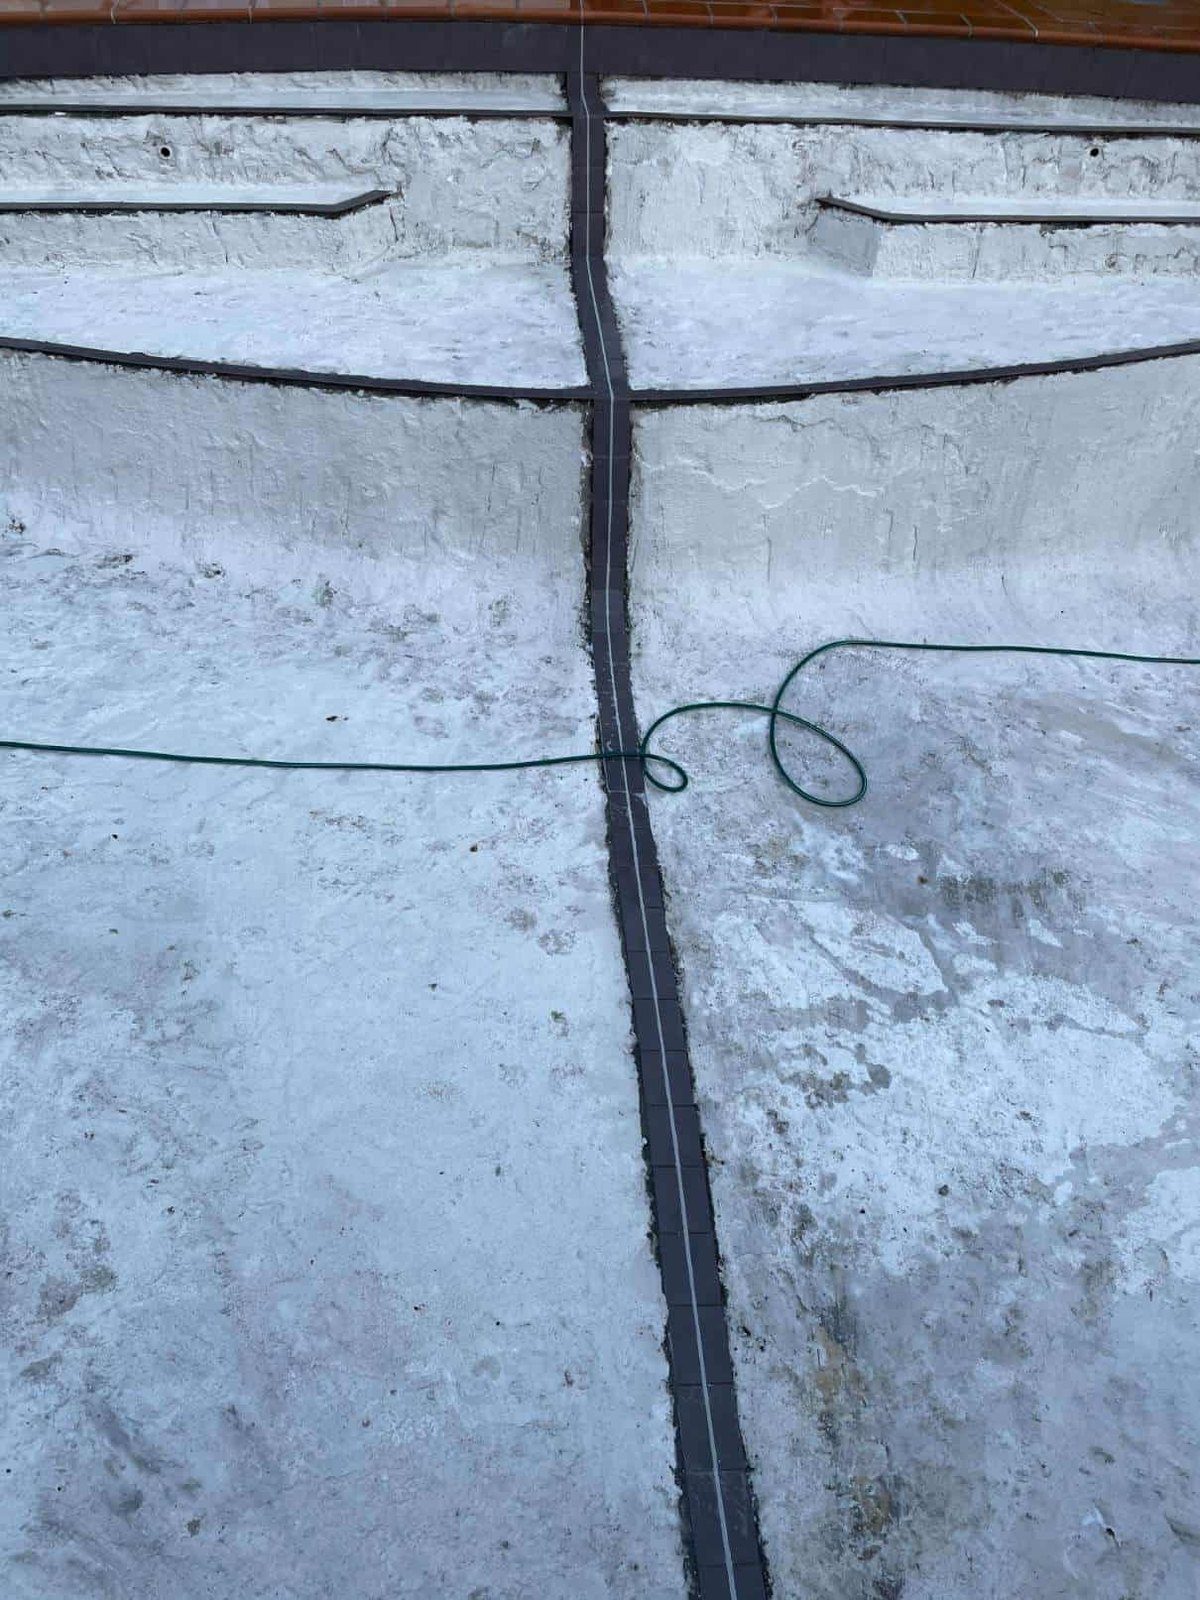
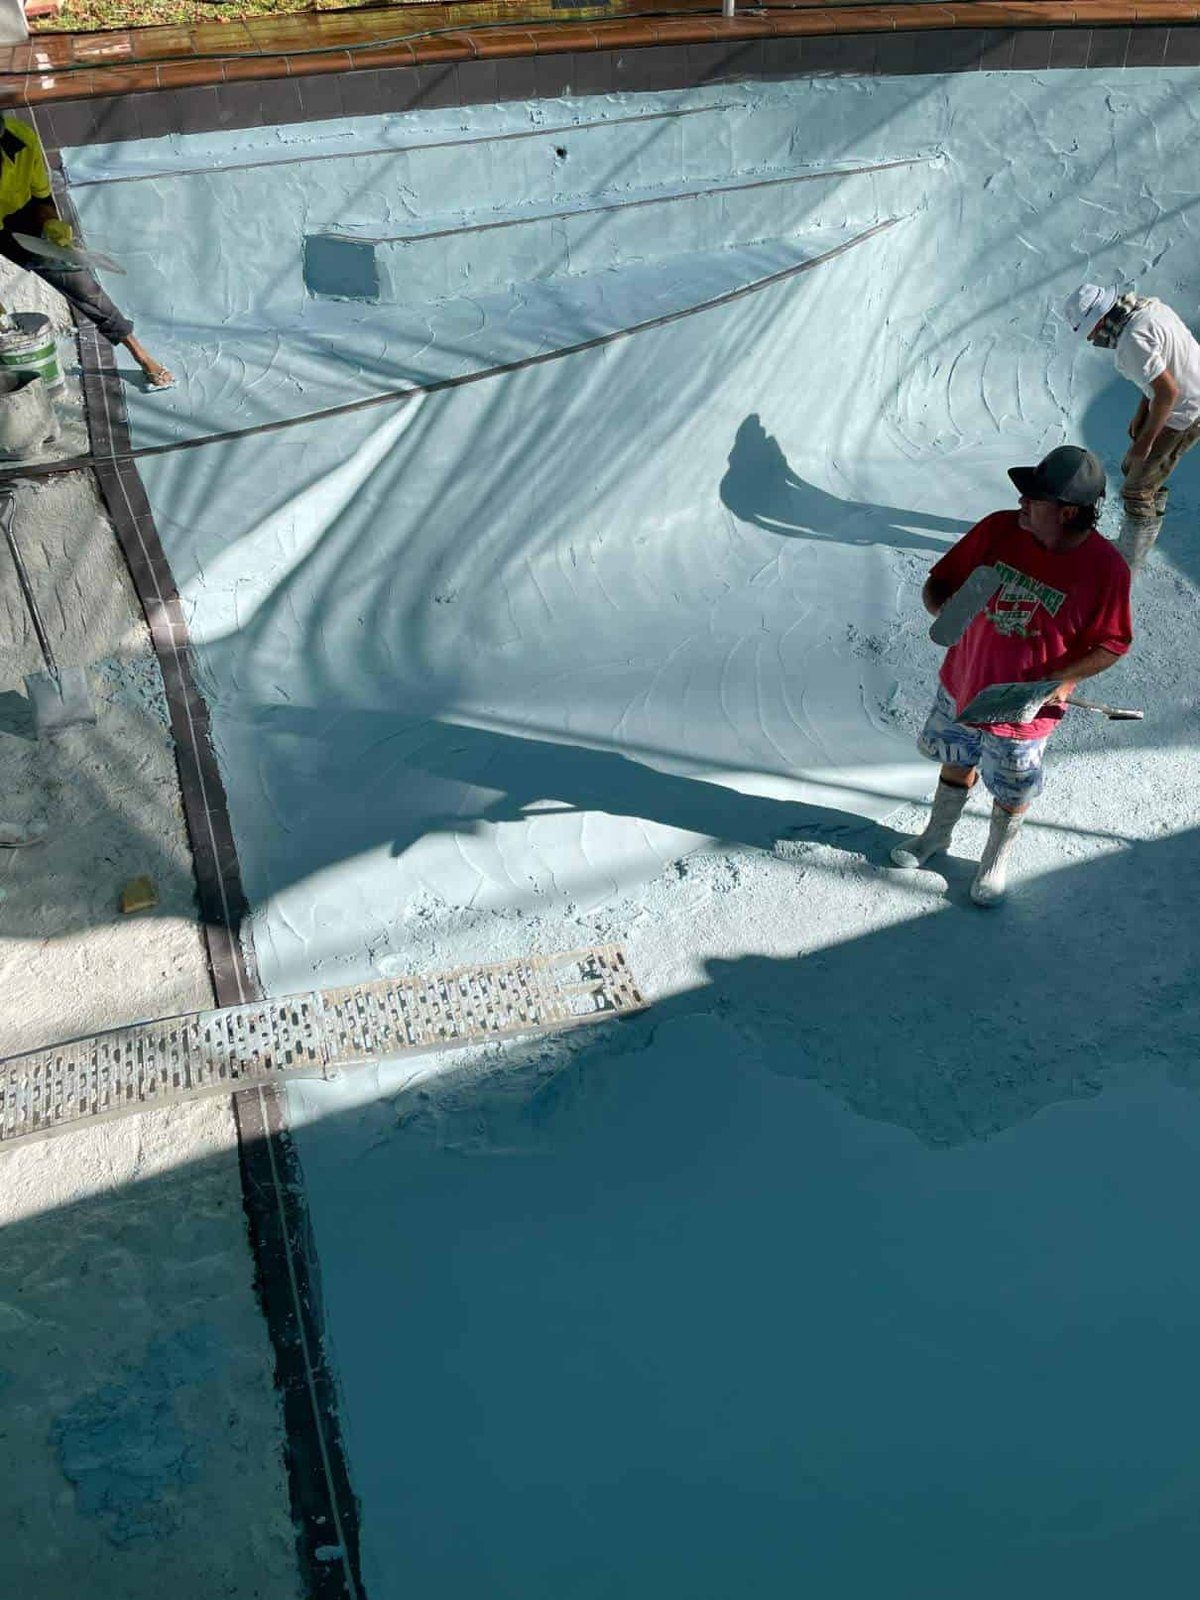
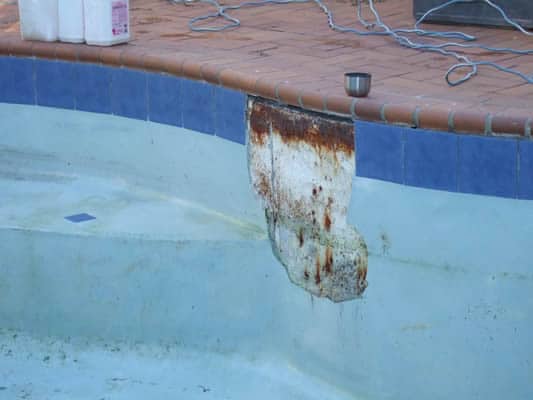
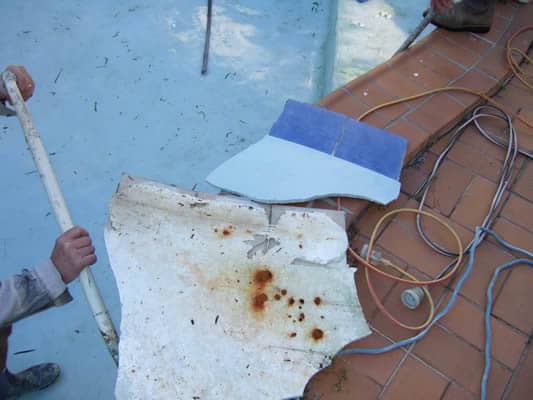
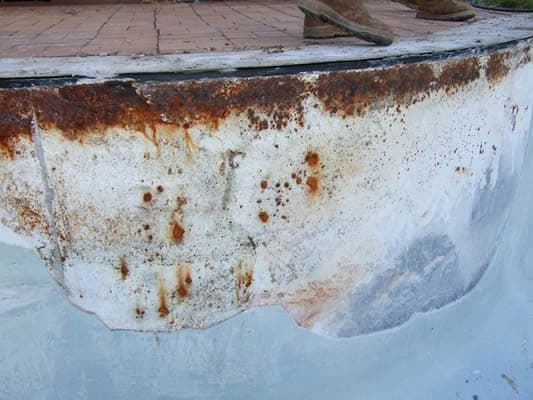
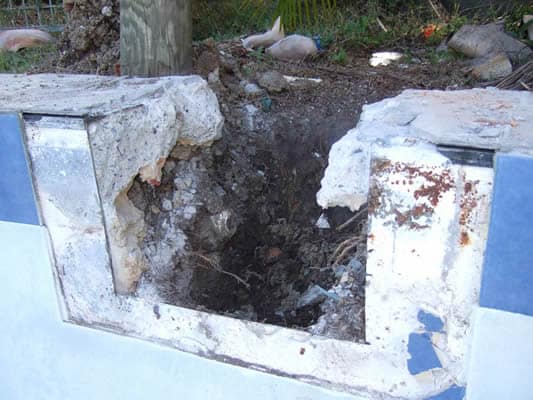
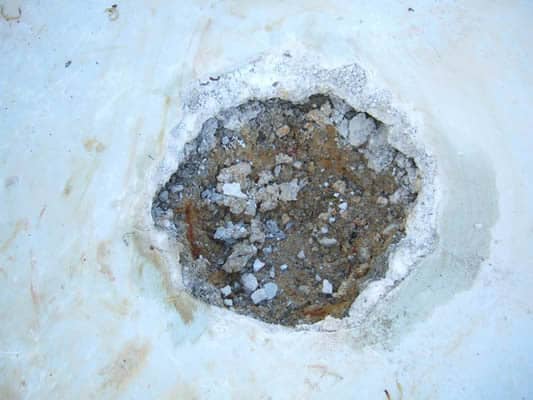
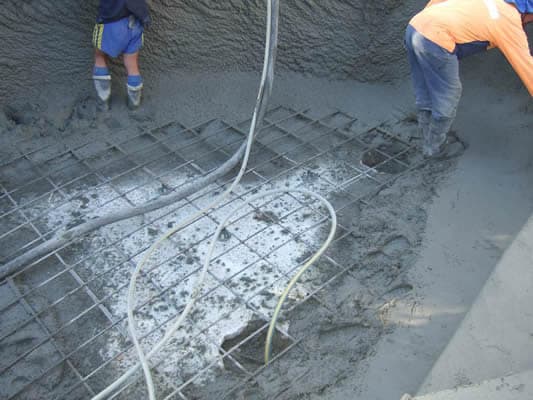
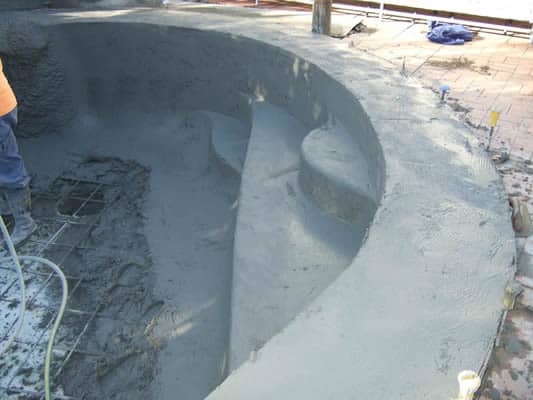
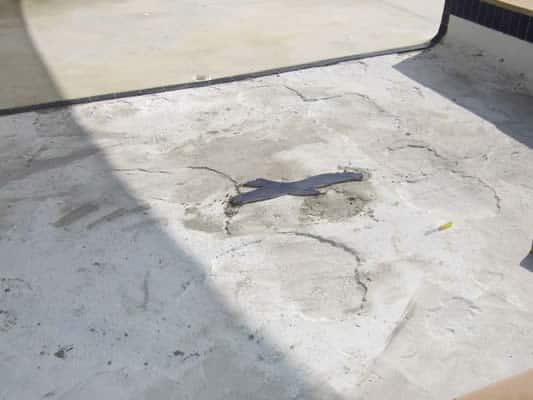
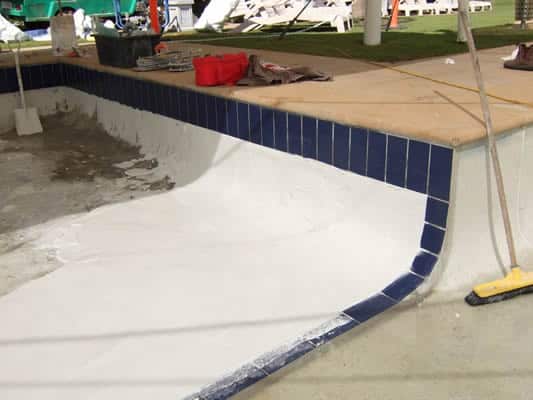
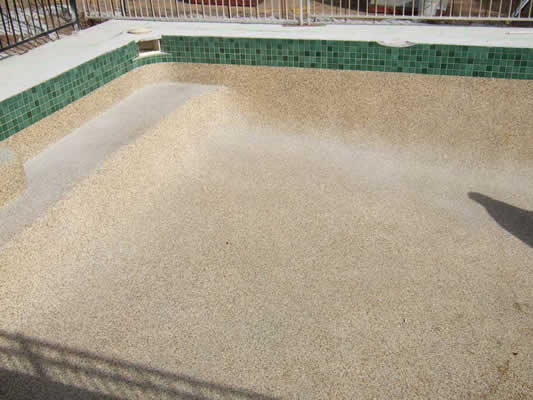
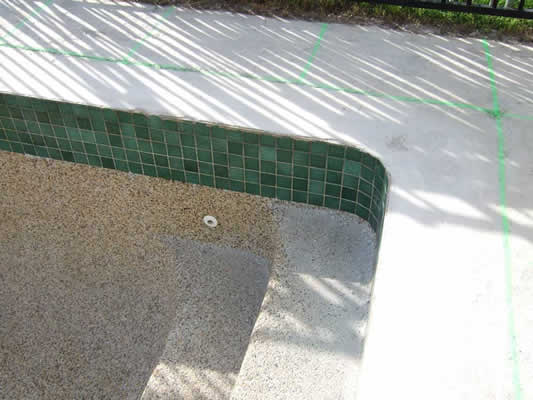
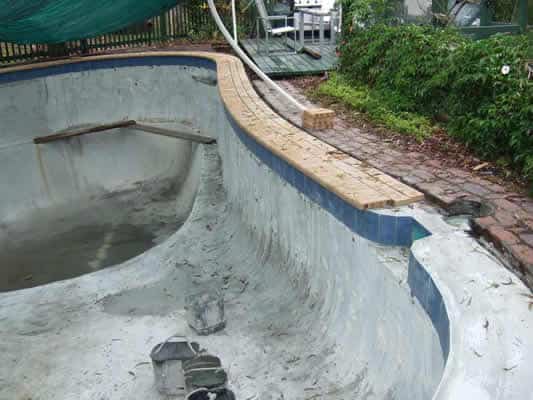
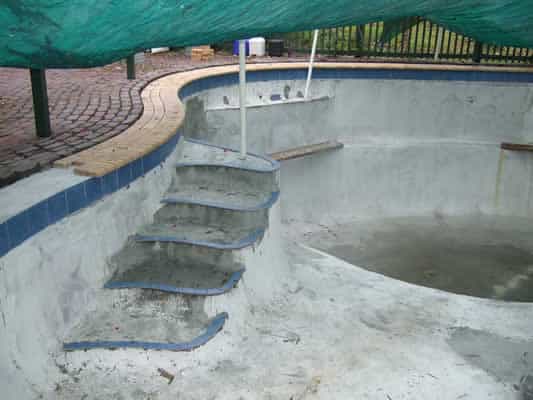
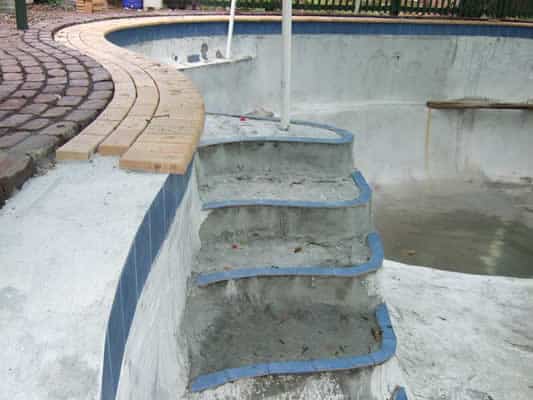
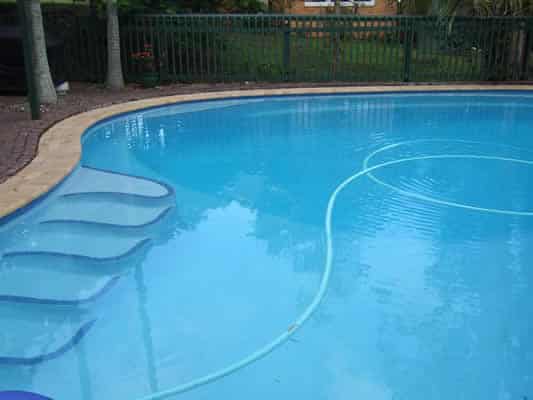
A major renovation. The Fibresheen-painted interior was removed and cleared from site, then tiling, coping and the expansion joint, then marbling.

Goodwin Apartments, Kangaroo Point: before photographGoodwin Apartments, Kangaroo Point: crack photographGoodwin Apartments, Kangaroo Point: stripping photographGoodwin Apartments, Kangaroo Point: skip photographGoodwin Apartments, Kangaroo Point: prepared photographGoodwin Apartments, Kangaroo Point: marbling photographGoodwin Apartments, Kangaroo Point: after steps photographGoodwin Apartments, Kangaroo Point: after wide photograph

The Sanctuary, Mermaid Waters

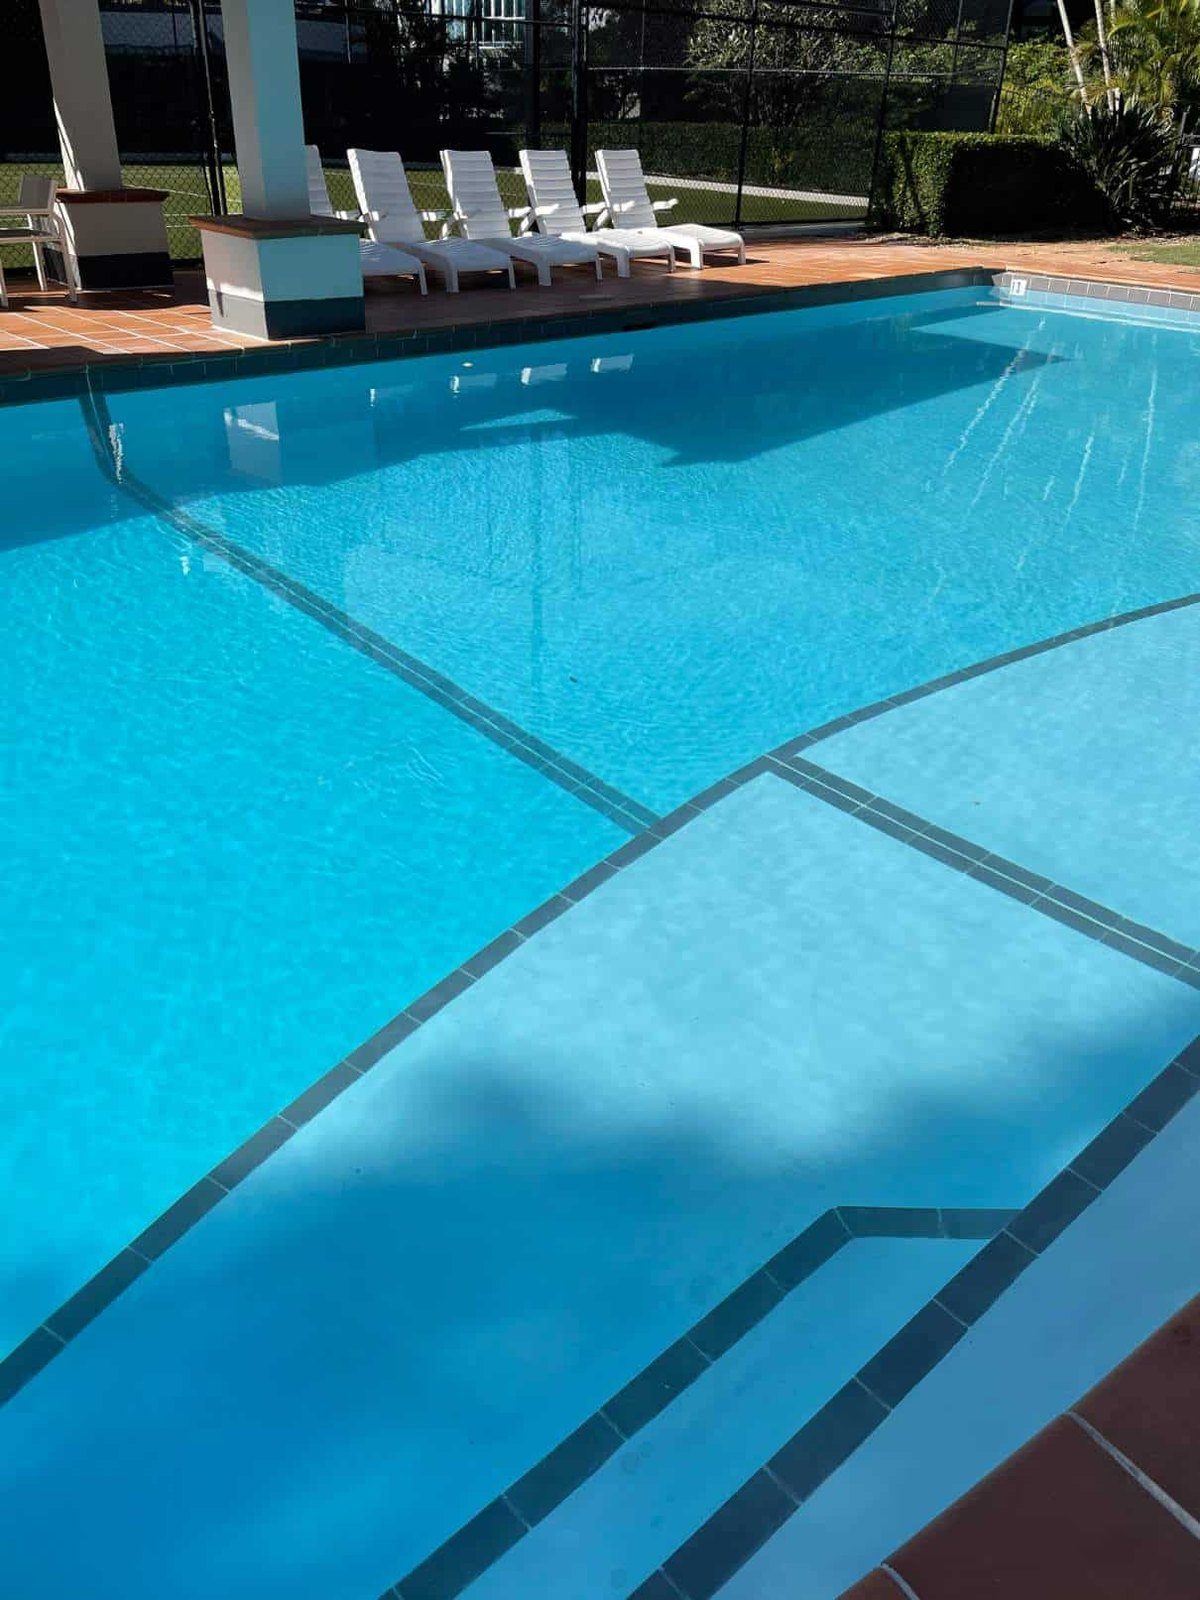
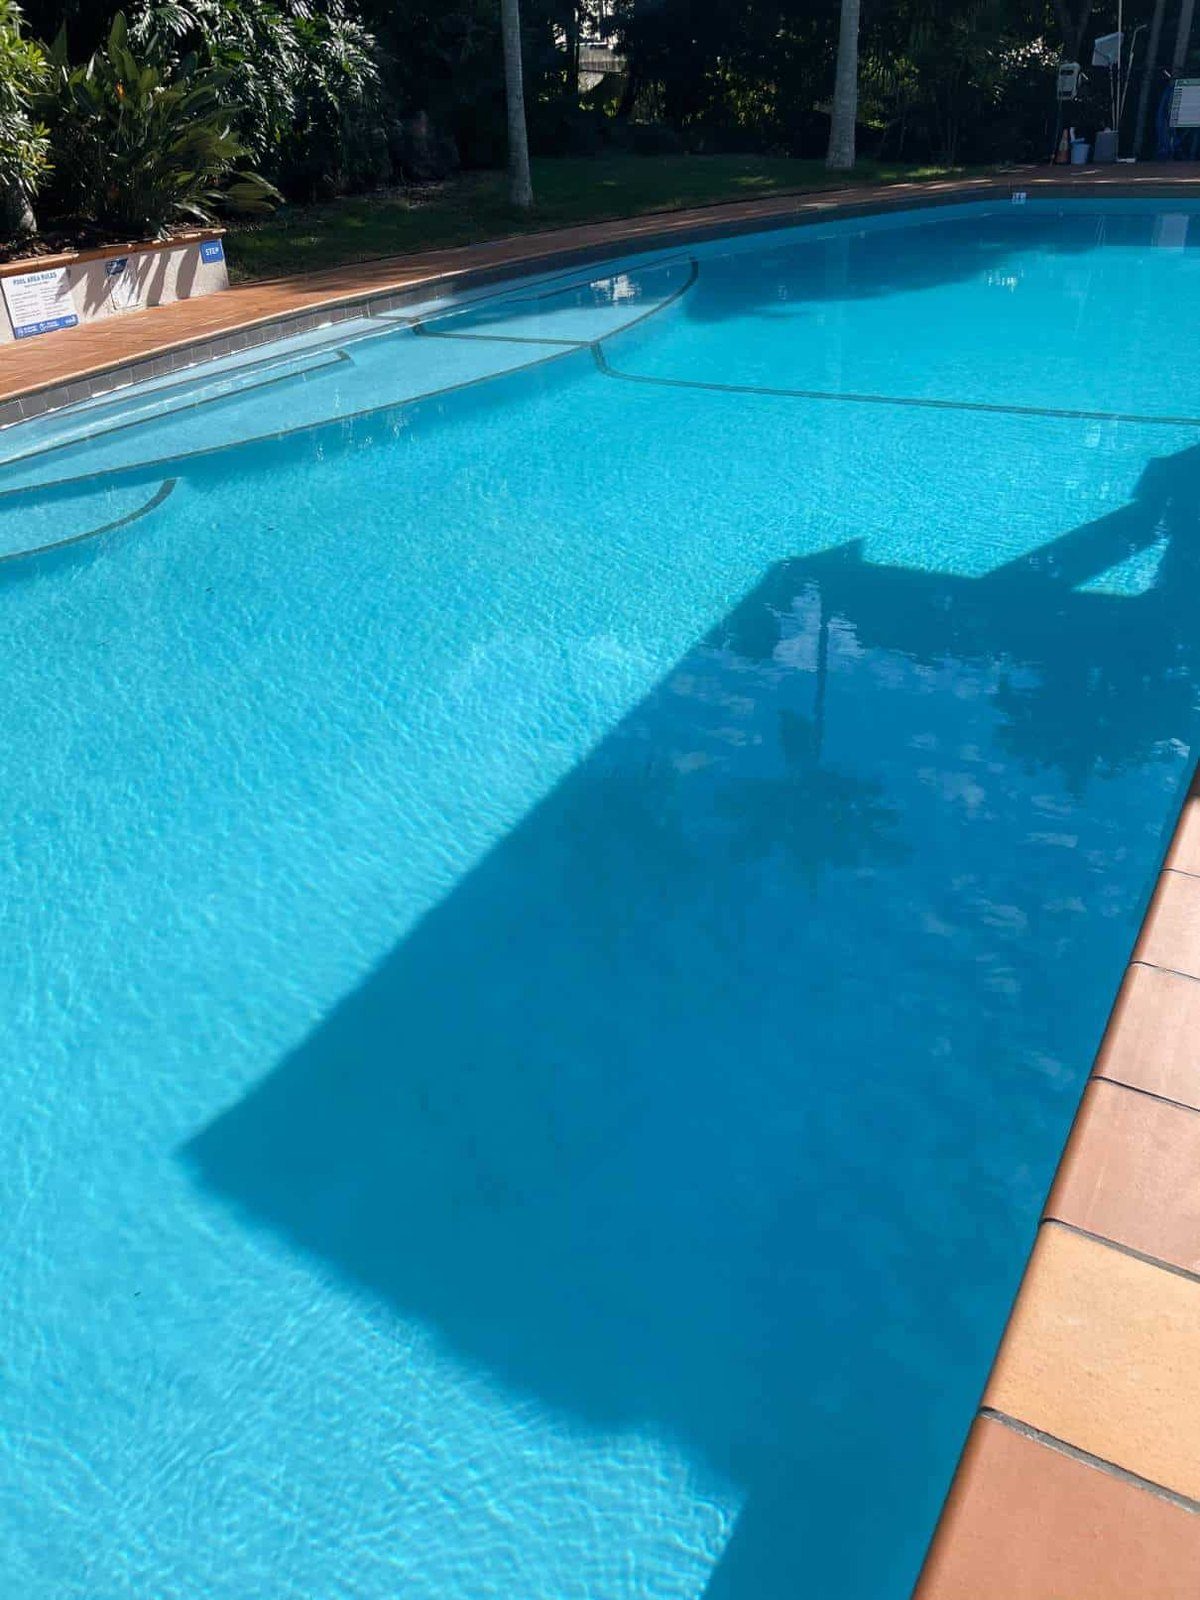
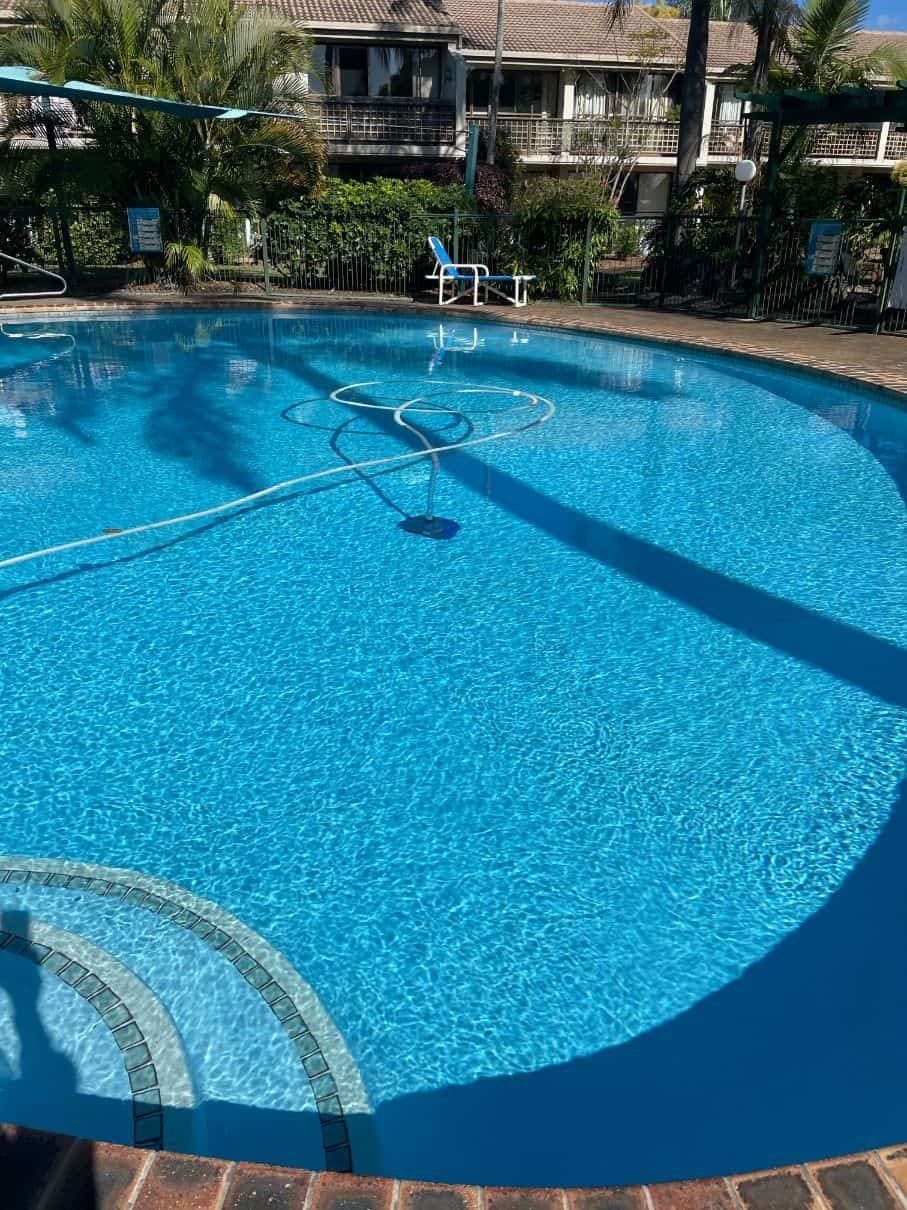
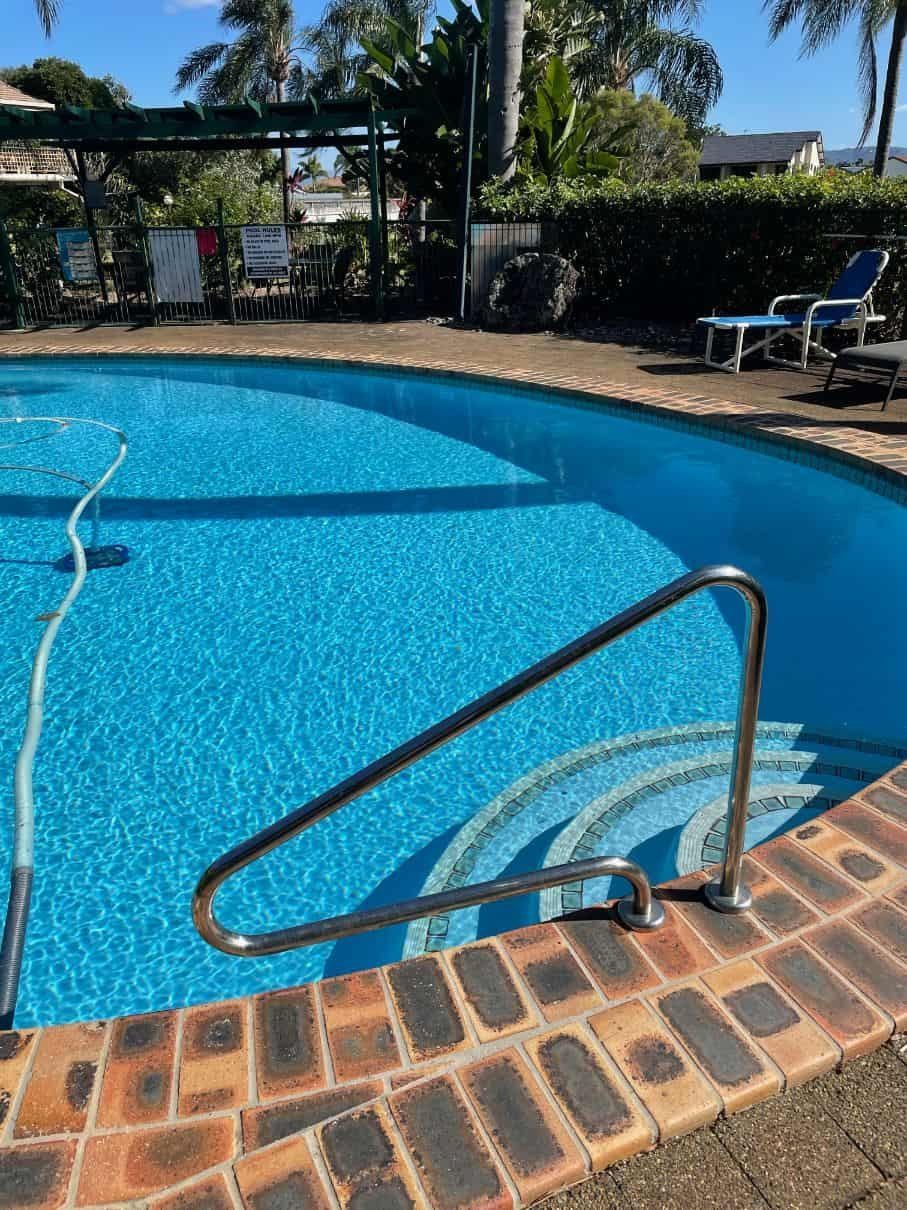
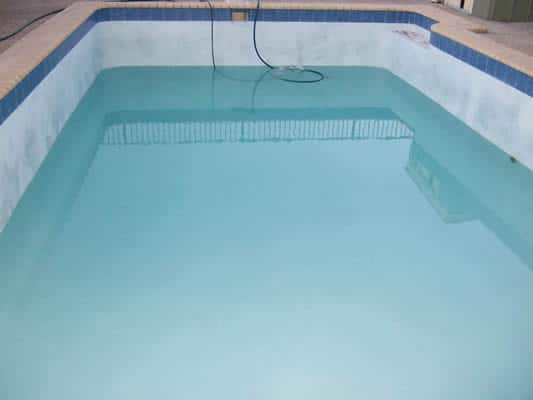
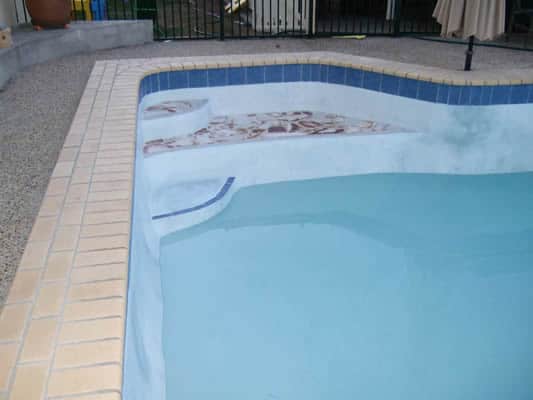
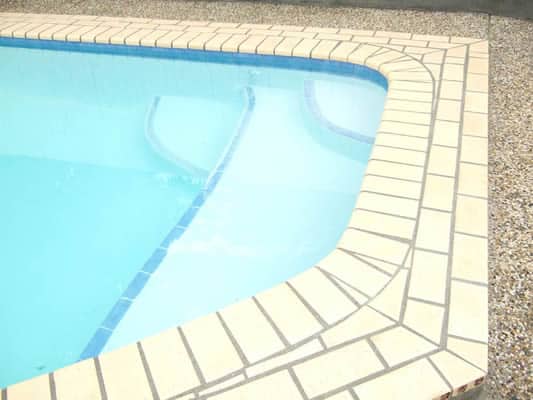
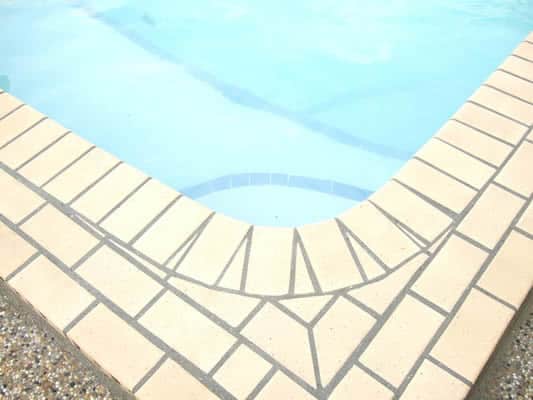
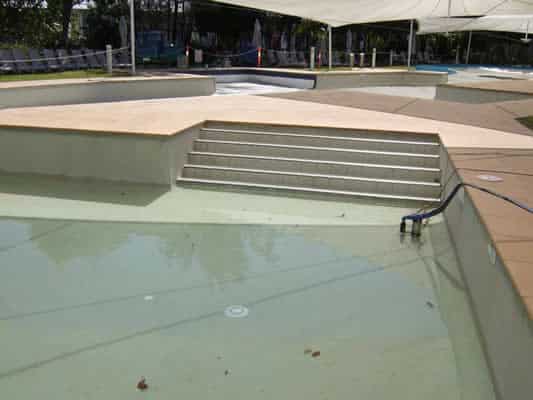
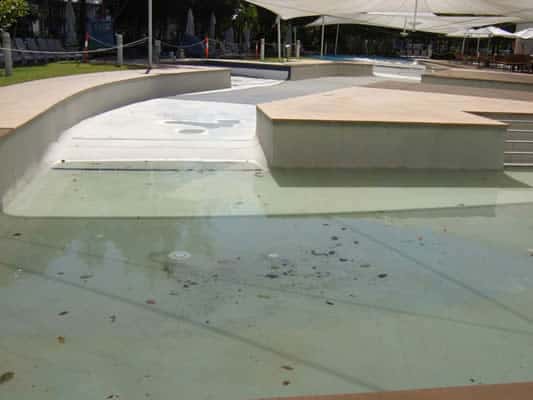
Two large pools about 30 years old, renovated together so they match: a deep lagoon pool with three steps and a smaller rectangle pool, both in smooth blue marble.
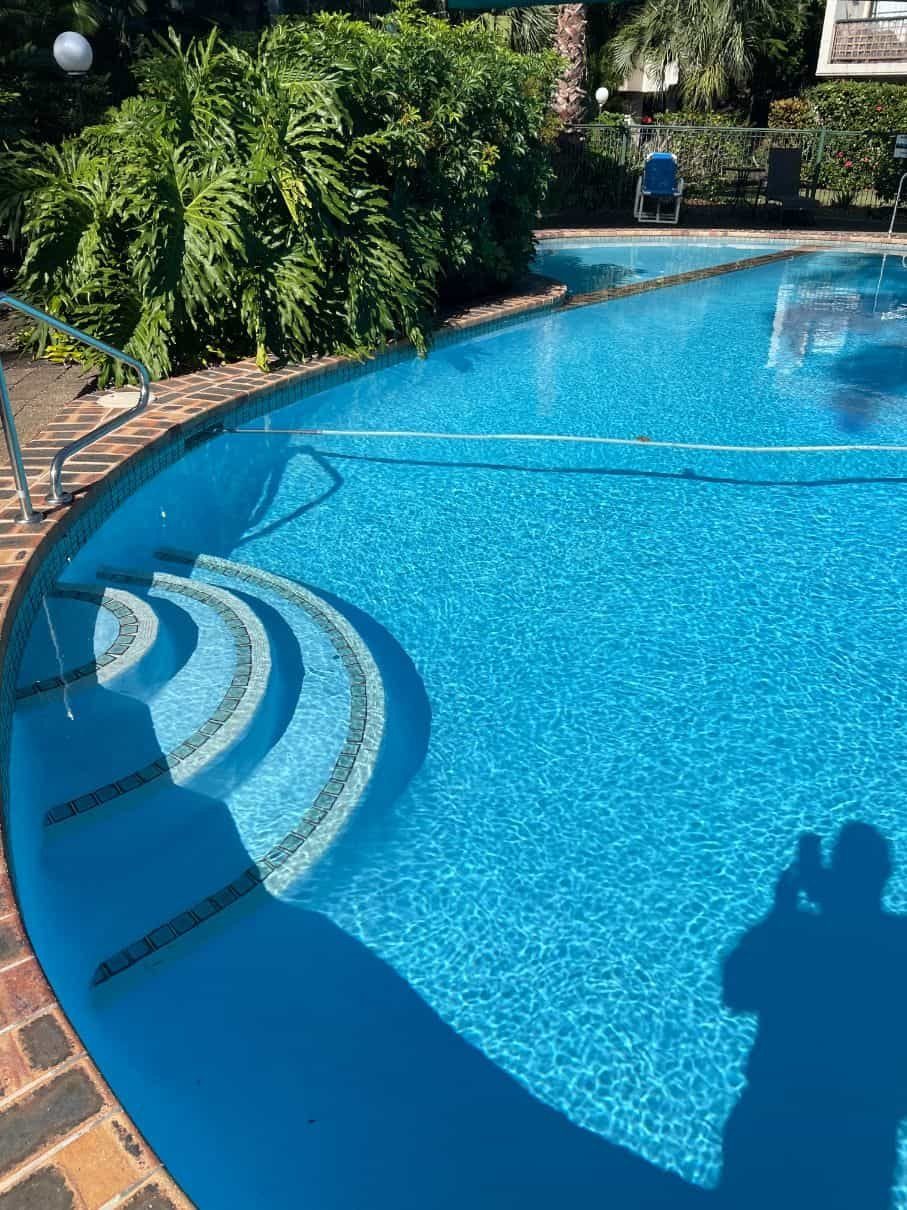
The Sanctuary, Mermaid Waters: pool1 photographThe Sanctuary, Mermaid Waters: pool1 wide photographThe Sanctuary, Mermaid Waters: pool1 steps photographThe Sanctuary, Mermaid Waters: pool2 photograph

Projects B to Q

Project B

Common crack and preparation.

Project B, photo 1 of 4: common crack and preparationProject B, photo 2 of 4: common crack and preparationProject B, photo 3 of 4: common crack and preparationProject B, photo 4 of 4: common crack and preparation

Project C

Crack through to completion.

Project C, photo 1 of 5: crack through to completionProject C, photo 2 of 5: crack through to completionProject C, photo 3 of 5: crack through to completionProject C, photo 4 of 5: crack through to completionProject C, photo 5 of 5: crack through to completion

Project D

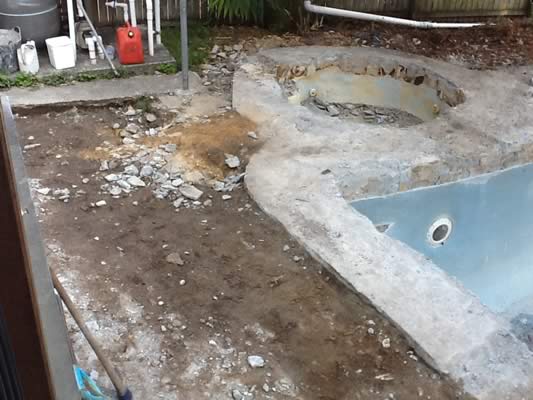
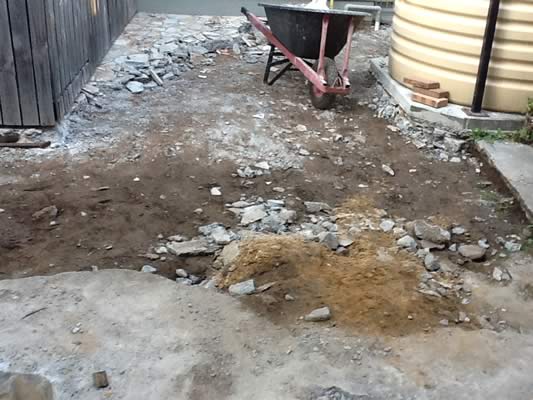
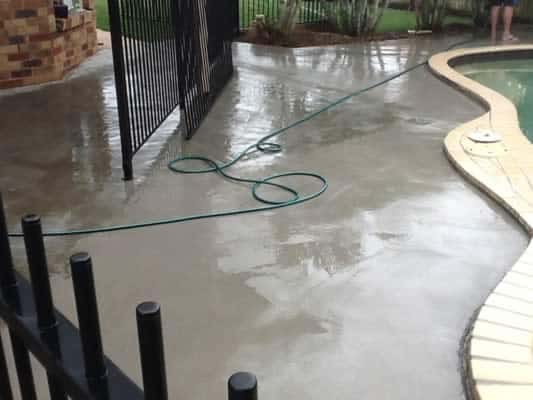
Major pool renovation including the surrounding walkway. With no access for machinery the entire job was done by hand.

Project D, photo 1 of 12: major pool renovation including the surrounding walkwayProject D, photo 2 of 12: major pool renovation including the surrounding walkwayProject D, photo 3 of 12: major pool renovation including the surrounding walkwayProject D, photo 4 of 12: major pool renovation including the surrounding walkwayProject D, photo 5 of 12: major pool renovation including the surrounding walkwayProject D, photo 6 of 12: major pool renovation including the surrounding walkwayProject D, photo 7 of 12: major pool renovation including the surrounding walkwayProject D, photo 8 of 12: major pool renovation including the surrounding walkwayProject D, photo 9 of 12: major pool renovation including the surrounding walkwayProject D, photo 10 of 12: major pool renovation including the surrounding walkwayProject D, photo 11 of 12: major pool renovation including the surrounding walkwayProject D, photo 12 of 12: major pool renovation including the surrounding walkway

Project E

Renovation of pool steps and surround.

Project E, photo 1 of 9: renovation of pool steps and surroundProject E, photo 2 of 9: renovation of pool steps and surroundProject E, photo 3 of 9: renovation of pool steps and surroundProject E, photo 4 of 9: renovation of pool steps and surroundProject E, photo 5 of 9: renovation of pool steps and surroundProject E, photo 6 of 9: renovation of pool steps and surroundProject E, photo 7 of 9: renovation of pool steps and surroundProject E, photo 8 of 9: renovation of pool steps and surroundProject E, photo 9 of 9: renovation of pool steps and surround

Project F

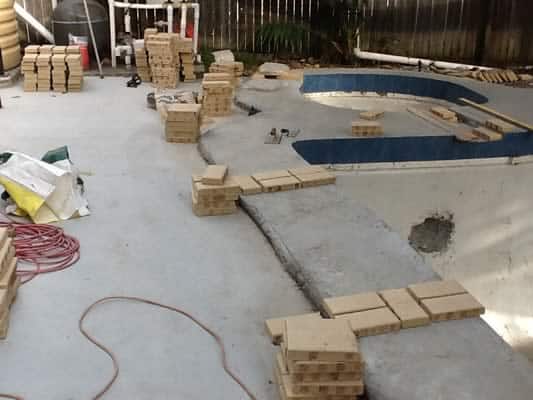
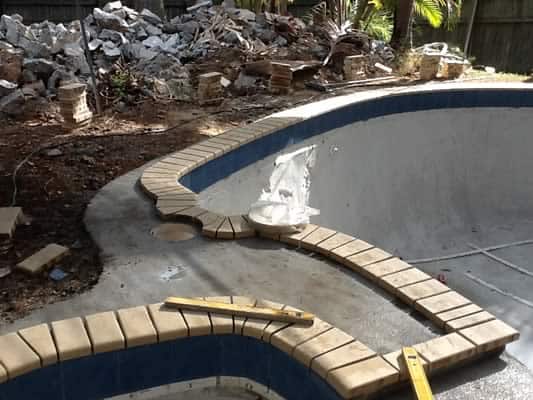
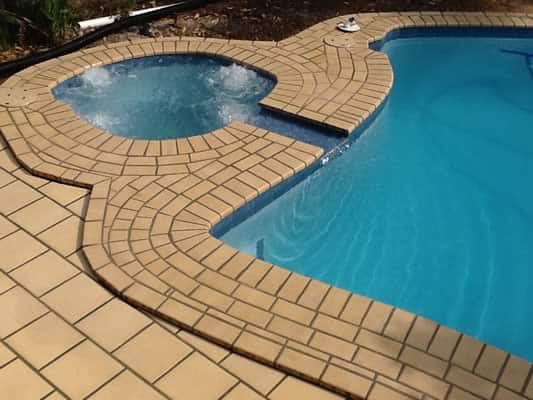
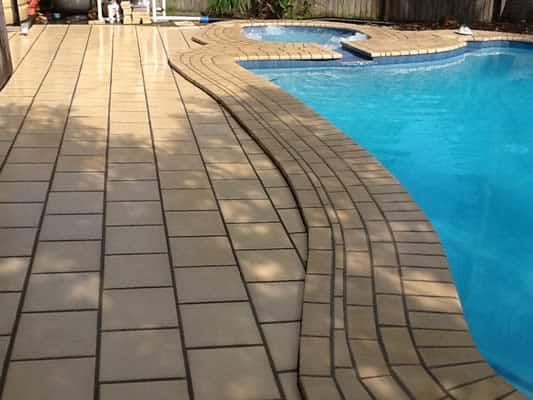
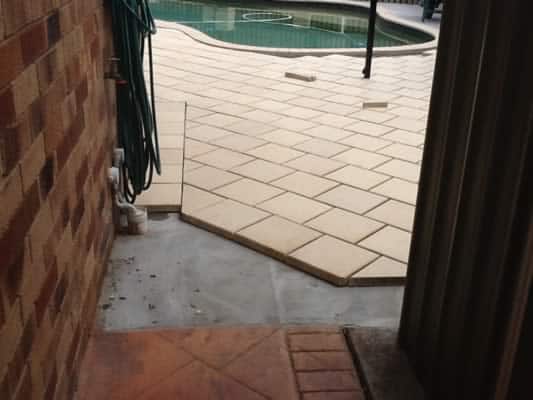
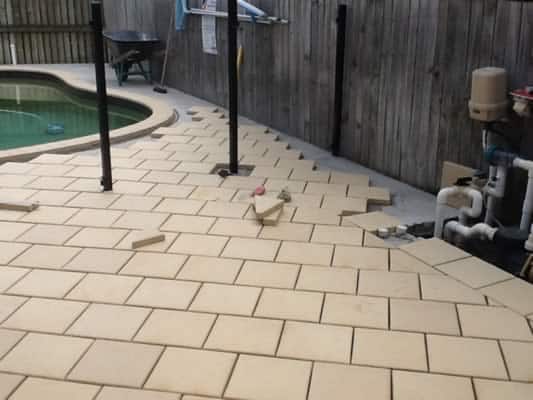
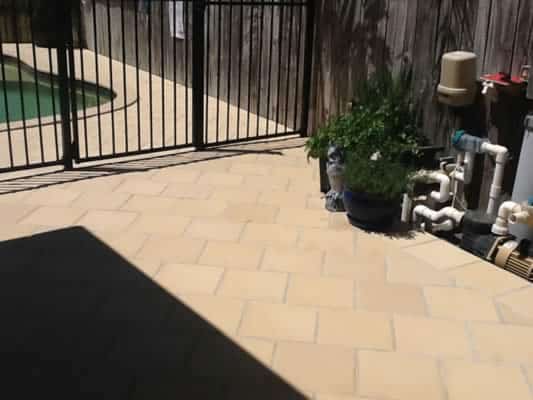
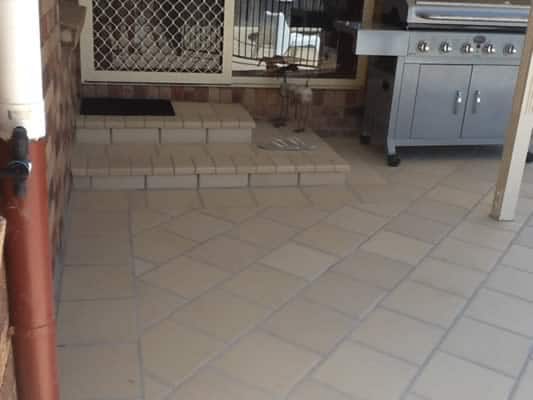
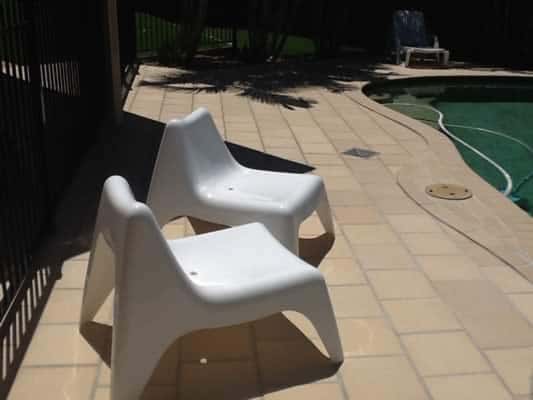
Lay new pavers around the existing pool and surrounding area. Regal sand pavers 40mm x 300mm x 300mm were used.

Project F, photo 1 of 6: lay new pavers around the existing pool and surrounding areaProject F, photo 2 of 6: lay new pavers around the existing pool and surrounding areaProject F, photo 3 of 6: lay new pavers around the existing pool and surrounding areaProject F, photo 4 of 6: lay new pavers around the existing pool and surrounding areaProject F, photo 5 of 6: lay new pavers around the existing pool and surrounding areaProject F, photo 6 of 6: lay new pavers around the existing pool and surrounding area

Project G

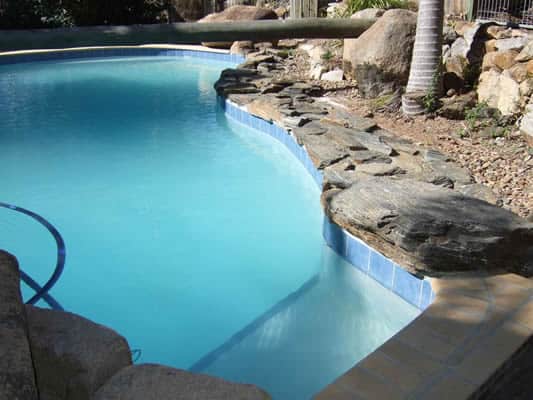
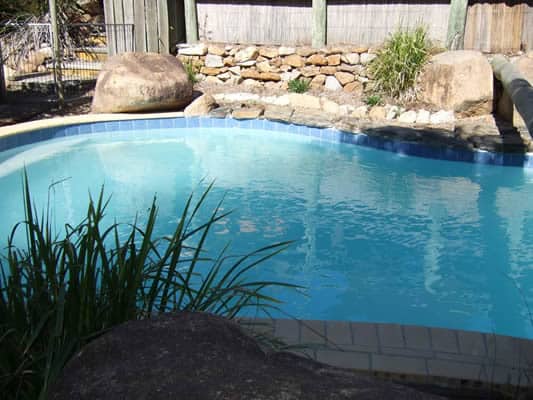
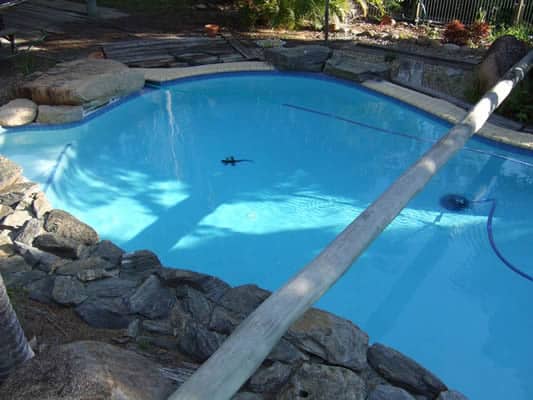
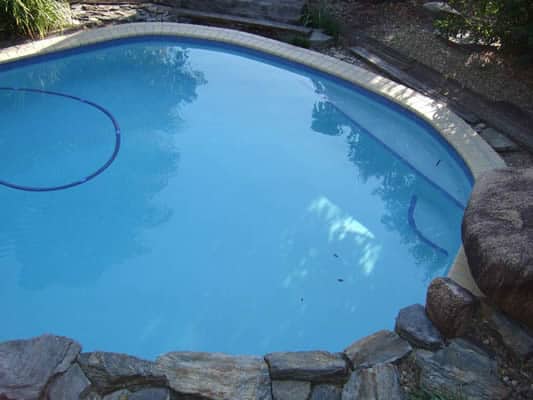
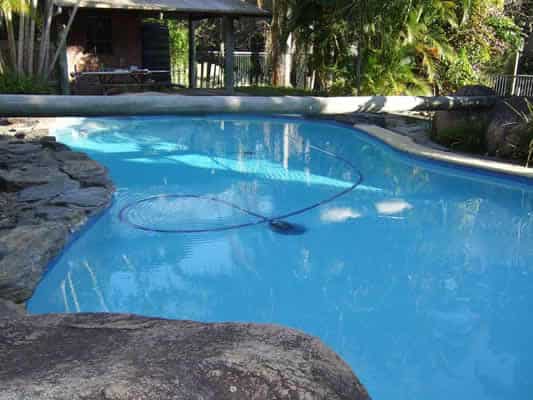
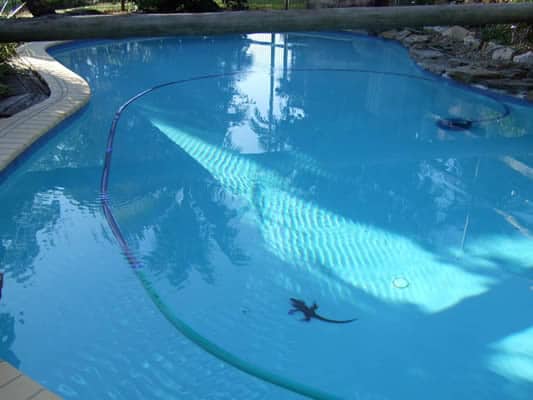
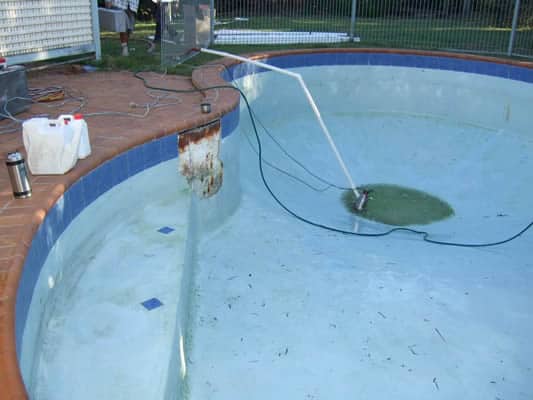
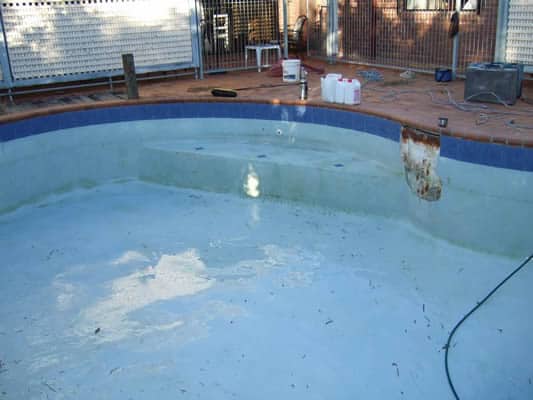
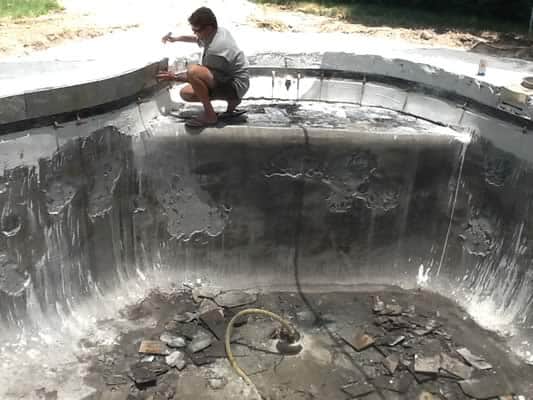
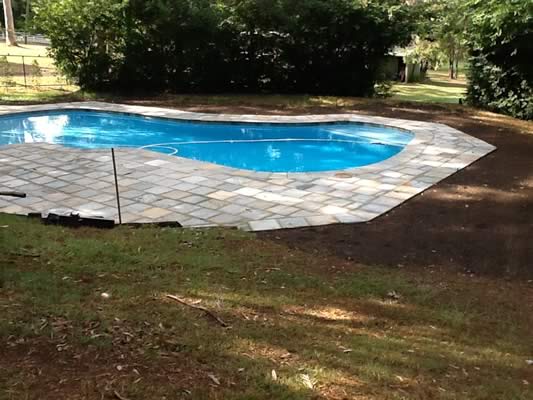
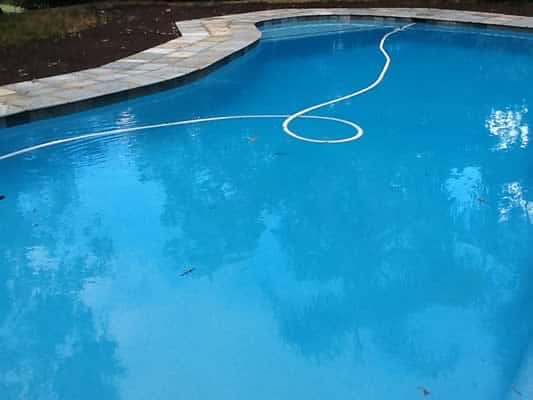
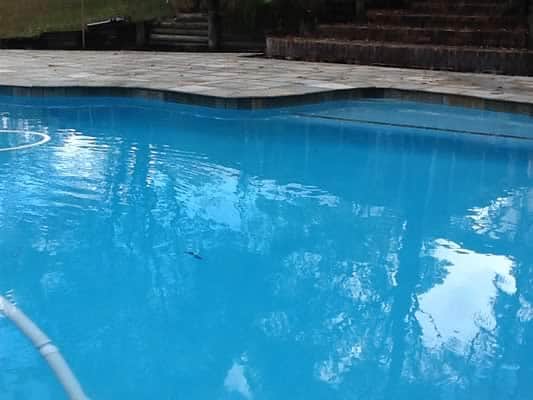
Major renovation with real lizard in finished pool.

Project G, photo 1 of 19: major renovation with real lizard in finished poolProject G, photo 2 of 19: major renovation with real lizard in finished poolProject G, photo 3 of 19: major renovation with real lizard in finished poolProject G, photo 4 of 19: major renovation with real lizard in finished poolProject G, photo 5 of 19: major renovation with real lizard in finished poolProject G, photo 6 of 19: major renovation with real lizard in finished poolProject G, photo 7 of 19: major renovation with real lizard in finished poolProject G, photo 8 of 19: major renovation with real lizard in finished poolProject G, photo 9 of 19: major renovation with real lizard in finished poolProject G, photo 10 of 19: major renovation with real lizard in finished poolProject G, photo 11 of 19: major renovation with real lizard in finished poolProject G, photo 12 of 19: major renovation with real lizard in finished poolProject G, photo 13 of 19: major renovation with real lizard in finished poolProject G, photo 14 of 19: major renovation with real lizard in finished poolProject G, photo 15 of 19: major renovation with real lizard in finished poolProject G, photo 16 of 19: major renovation with real lizard in finished poolProject G, photo 17 of 19: major renovation with real lizard in finished poolProject G, photo 18 of 19: major renovation with real lizard in finished poolProject G, photo 19 of 19: major renovation with real lizard in finished pool

Project H

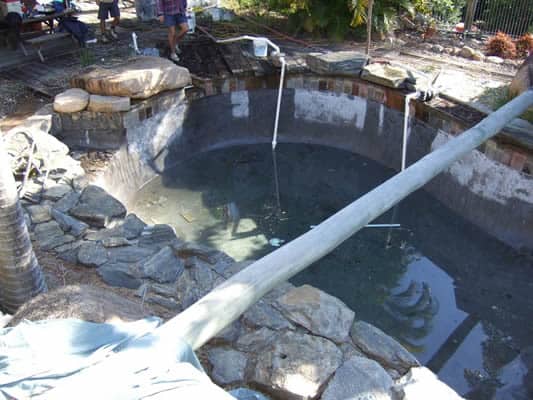
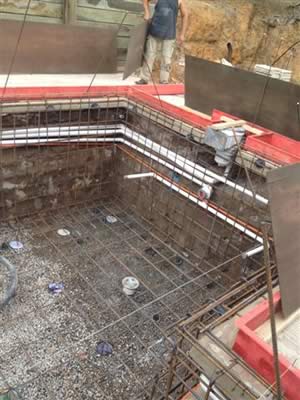
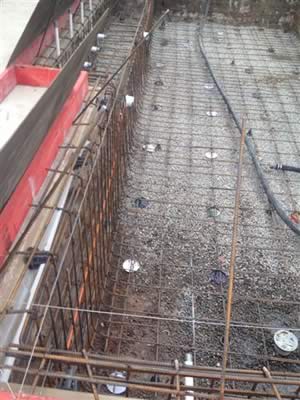
Special project: Pool inside a pool. This pool was so degraded the only course of action was to use the existing pool structure, add new footings in the pool floor and bolster the existing wall.

Project H, photo 1 of 16: pool inside a poolProject H, photo 2 of 16: pool inside a poolProject H, photo 3 of 16: pool inside a poolProject H, photo 4 of 16: pool inside a poolProject H, photo 5 of 16: pool inside a poolProject H, photo 6 of 16: pool inside a poolProject H, photo 7 of 16: pool inside a poolProject H, photo 8 of 16: pool inside a poolProject H, photo 9 of 16: pool inside a poolProject H, photo 10 of 16: pool inside a poolProject H, photo 11 of 16: pool inside a poolProject H, photo 12 of 16: pool inside a poolProject H, photo 13 of 16: pool inside a poolProject H, photo 14 of 16: pool inside a poolProject H, photo 15 of 16: pool inside a poolProject H, photo 16 of 16: pool inside a pool

Project I

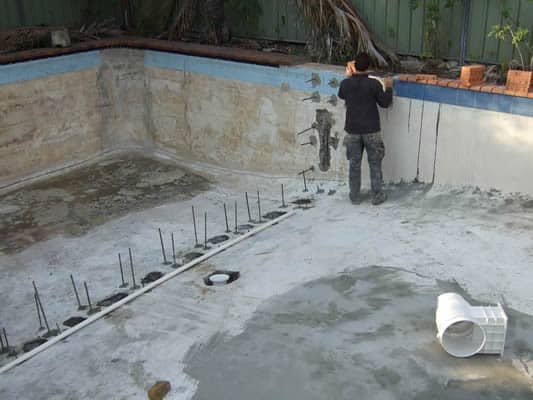
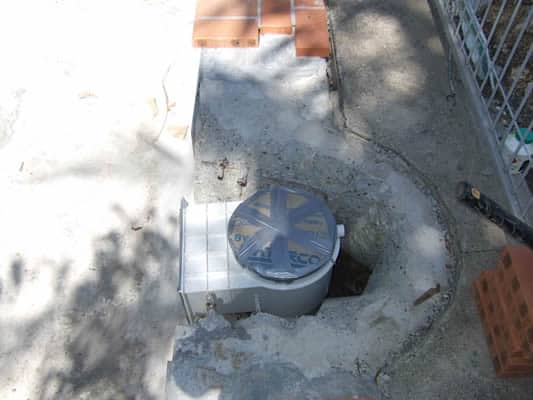
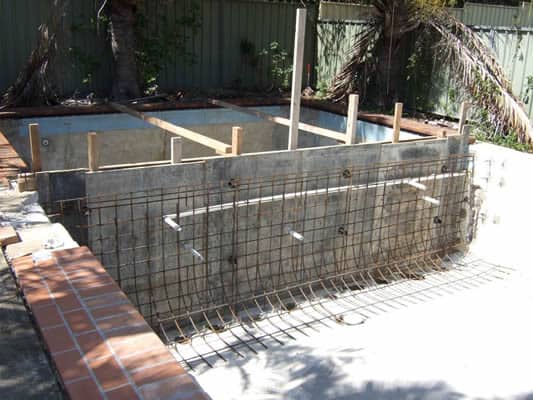
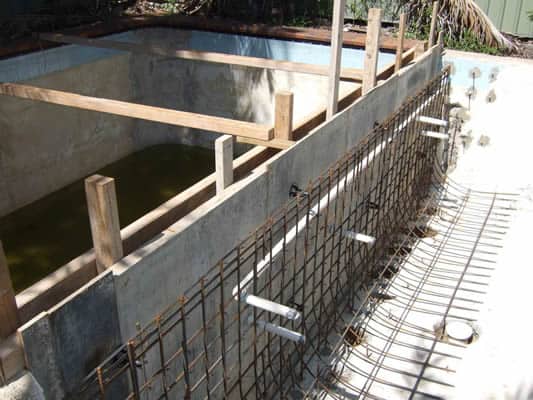
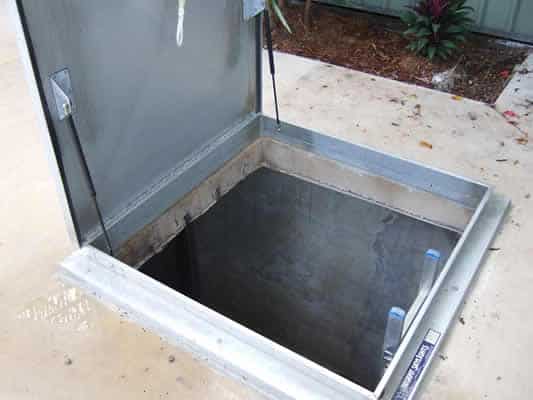
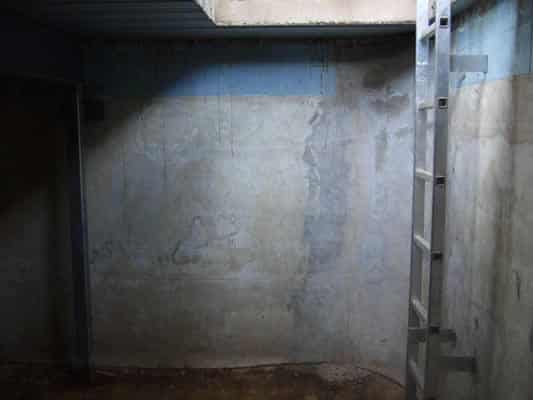
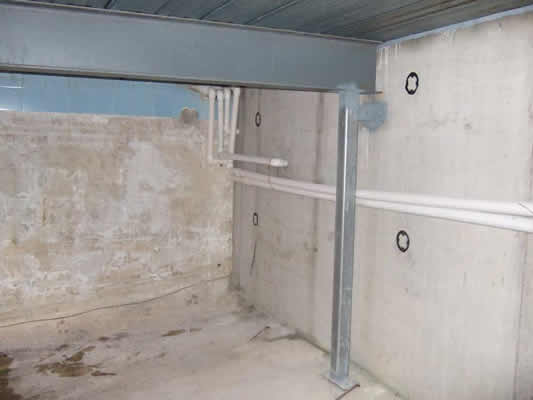
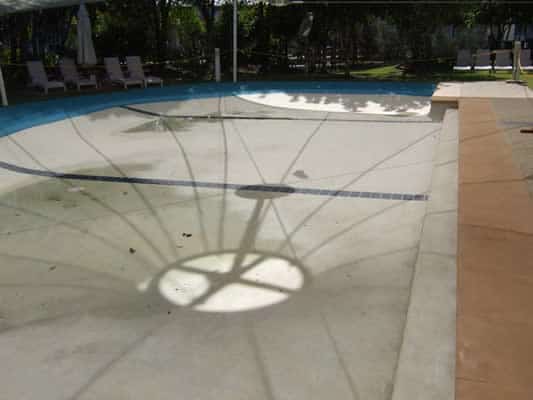
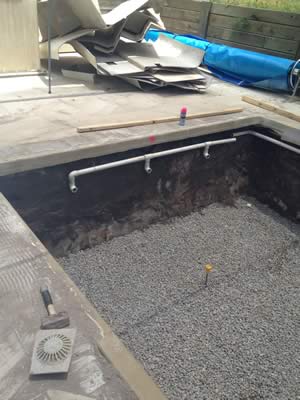
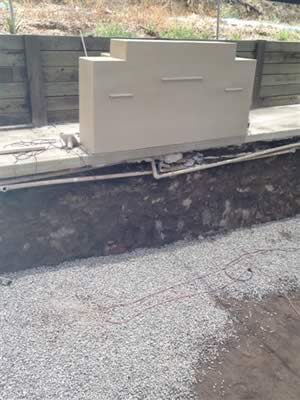
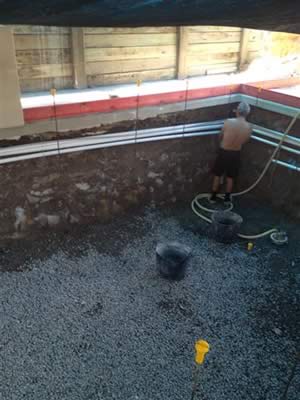
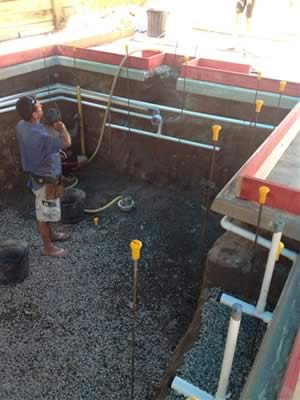
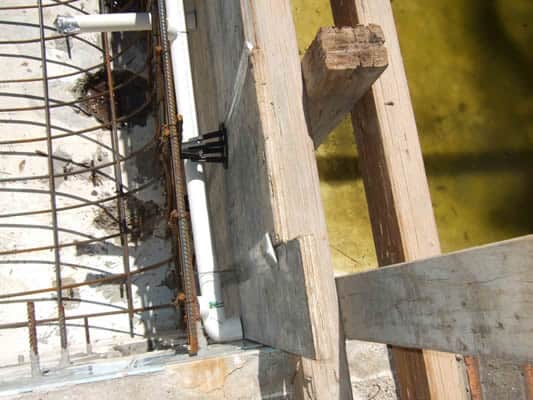
Special project: Reduce the size of an existing pool and convert part of the pool into a wine cellar. This was a complex job. You can see the extent of the dividing wall with plumbing.

Project I, photo 1 of 14: reduce the size of an existing pool and convert part of the pool into a wine cellarProject I, photo 2 of 14: reduce the size of an existing pool and convert part of the pool into a wine cellarProject I, photo 3 of 14: reduce the size of an existing pool and convert part of the pool into a wine cellarProject I, photo 4 of 14: reduce the size of an existing pool and convert part of the pool into a wine cellarProject I, photo 5 of 14: reduce the size of an existing pool and convert part of the pool into a wine cellarProject I, photo 6 of 14: reduce the size of an existing pool and convert part of the pool into a wine cellarProject I, photo 7 of 14: reduce the size of an existing pool and convert part of the pool into a wine cellarProject I, photo 8 of 14: reduce the size of an existing pool and convert part of the pool into a wine cellarProject I, photo 9 of 14: reduce the size of an existing pool and convert part of the pool into a wine cellarProject I, photo 10 of 14: reduce the size of an existing pool and convert part of the pool into a wine cellarProject I, photo 11 of 14: reduce the size of an existing pool and convert part of the pool into a wine cellarProject I, photo 12 of 14: reduce the size of an existing pool and convert part of the pool into a wine cellarProject I, photo 13 of 14: reduce the size of an existing pool and convert part of the pool into a wine cellarProject I, photo 14 of 14: reduce the size of an existing pool and convert part of the pool into a wine cellar

Project J

Couran Cove. Very large pool. Required to replace pebble finish with smoother marble finish and re-tile. Smooth marble finish is kinder to swimmers feet and easier to keep pool clean. Pool cleaners cannot adequately clean between pebbles which promotes algae.

Project J, photo 1 of 9: couran coveProject J, photo 2 of 9: couran coveProject J, photo 3 of 9: couran coveProject J, photo 4 of 9: couran coveProject J, photo 5 of 9: couran coveProject J, photo 6 of 9: couran coveProject J, photo 7 of 9: couran coveProject J, photo 8 of 9: couran coveProject J, photo 9 of 9: couran cove

Project K

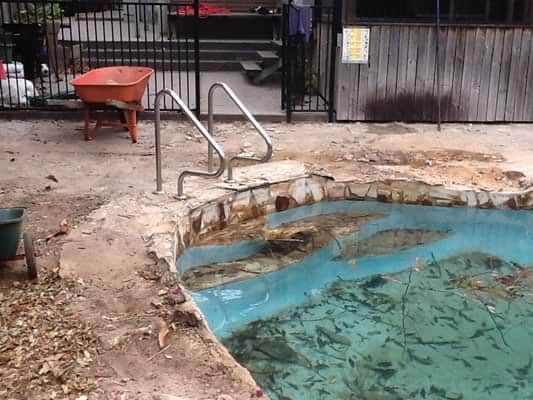
Common pebble problems. Images show algae build up between pebbles where pool cleaners cannot clean.

Project K, photo 1 of 2: common pebble problemsProject K, photo 2 of 2: common pebble problems

Project L

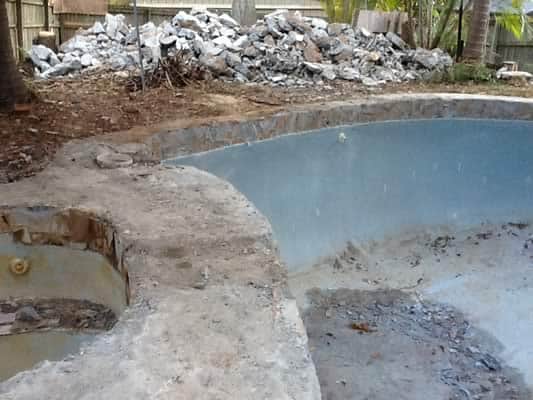
Major pool renovation. Pool being prepared to replace pebble finish with smooth marble finish.

Project L, photo 1 of 7: major pool renovationProject L, photo 2 of 7: major pool renovationProject L, photo 3 of 7: major pool renovationProject L, photo 4 of 7: major pool renovationProject L, photo 5 of 7: major pool renovationProject L, photo 6 of 7: major pool renovationProject L, photo 7 of 7: major pool renovation

Project M

A complete renovation of this 4 metre deep pool.

Project M, photo 1 of 11: a complete renovation of this 4 metre deep poolProject M, photo 2 of 11: a complete renovation of this 4 metre deep poolProject M, photo 3 of 11: a complete renovation of this 4 metre deep poolProject M, photo 4 of 11: a complete renovation of this 4 metre deep poolProject M, photo 5 of 11: a complete renovation of this 4 metre deep poolProject M, photo 6 of 11: a complete renovation of this 4 metre deep poolProject M, photo 7 of 11: a complete renovation of this 4 metre deep poolProject M, photo 8 of 11: a complete renovation of this 4 metre deep poolProject M, photo 9 of 11: a complete renovation of this 4 metre deep poolProject M, photo 10 of 11: a complete renovation of this 4 metre deep poolProject M, photo 11 of 11: a complete renovation of this 4 metre deep pool

Project N

Major renovation and removal of spa.

Project N, photo 1 of 6: major renovation and removal of spaProject N, photo 2 of 6: major renovation and removal of spaProject N, photo 3 of 6: major renovation and removal of spaProject N, photo 4 of 6: major renovation and removal of spaProject N, photo 5 of 6: major renovation and removal of spaProject N, photo 6 of 6: major renovation and removal of spa

Project O

Resort, Tugan, Queensland. Remove pebble finish in poor condition and replace with tiles with marble finish.

Project O, photo 1 of 8: resort, tugan, queenslandProject O, photo 2 of 8: resort, tugan, queenslandProject O, photo 3 of 8: resort, tugan, queenslandProject O, photo 4 of 8: resort, tugan, queenslandProject O, photo 5 of 8: resort, tugan, queenslandProject O, photo 6 of 8: resort, tugan, queenslandProject O, photo 7 of 8: resort, tugan, queenslandProject O, photo 8 of 8: resort, tugan, queensland

Project P

Pool renovation with 400mm x 400mm quartzite tiles. Existing concrete was removed and new concrete laid under new tiles. Note blue marble finish on last image.

Project P, photo 1 of 10: pool renovation with 400mm x 400mm quartzite tilesProject P, photo 2 of 10: pool renovation with 400mm x 400mm quartzite tilesProject P, photo 3 of 10: pool renovation with 400mm x 400mm quartzite tilesProject P, photo 4 of 10: pool renovation with 400mm x 400mm quartzite tilesProject P, photo 5 of 10: pool renovation with 400mm x 400mm quartzite tilesProject P, photo 6 of 10: pool renovation with 400mm x 400mm quartzite tilesProject P, photo 7 of 10: pool renovation with 400mm x 400mm quartzite tilesProject P, photo 8 of 10: pool renovation with 400mm x 400mm quartzite tilesProject P, photo 9 of 10: pool renovation with 400mm x 400mm quartzite tilesProject P, photo 10 of 10: pool renovation with 400mm x 400mm quartzite tiles

Project Q

Removal by hand of existing fibre glass pool lining. Structure was re-sprayed with concrete before finishing with tiles and hand trowelled marble.
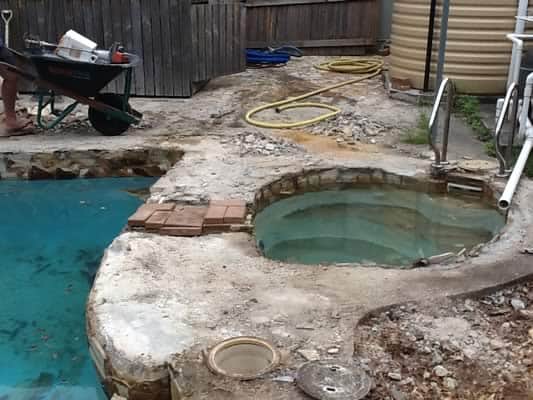
Project Q, photo 1 of 11: removal by hand of existing fibre glass pool liningProject Q, photo 2 of 11: removal by hand of existing fibre glass pool liningProject Q, photo 3 of 11: removal by hand of existing fibre glass pool liningProject Q, photo 4 of 11: removal by hand of existing fibre glass pool liningProject Q, photo 5 of 11: removal by hand of existing fibre glass pool liningProject Q, photo 6 of 11: removal by hand of existing fibre glass pool liningProject Q, photo 7 of 11: removal by hand of existing fibre glass pool liningProject Q, photo 8 of 11: removal by hand of existing fibre glass pool liningProject Q, photo 9 of 11: removal by hand of existing fibre glass pool liningProject Q, photo 10 of 11: removal by hand of existing fibre glass pool liningProject Q, photo 11 of 11: removal by hand of existing fibre glass pool lining

Rod explains the work himself in five short films. To talk about your pool, call 0411 596 707.
Call 0411 596 707Enquire